
The scene control functionality is available on SmartThings only if you're using a custom driver for your Zooz switches. You only have to install one custom driver for any wall switch or dimmer model on SmartThings and you only need to do it once, regardless of how many switches you're going to add.
Simply follow these instructions (they'll work for any model) to have the driver installed. If your switch or dimmer is already added to SmartThings, you can assign the correct driver to the switch by clicking on the device tile > click the 3 dots in top corner > select Driver > select Different Driver in blue at the bottom of driver page > select the Zooz Switch driver.
First, make sure your device was recognized correctly and displays the correct model number in the app and Zooz Switch driver. Then, just follow the steps below!
Scene Control Programming
1. Click on the Zooz Switch device tile in the SmartThings app. Click the 3 dots in the top right corner of the screen.
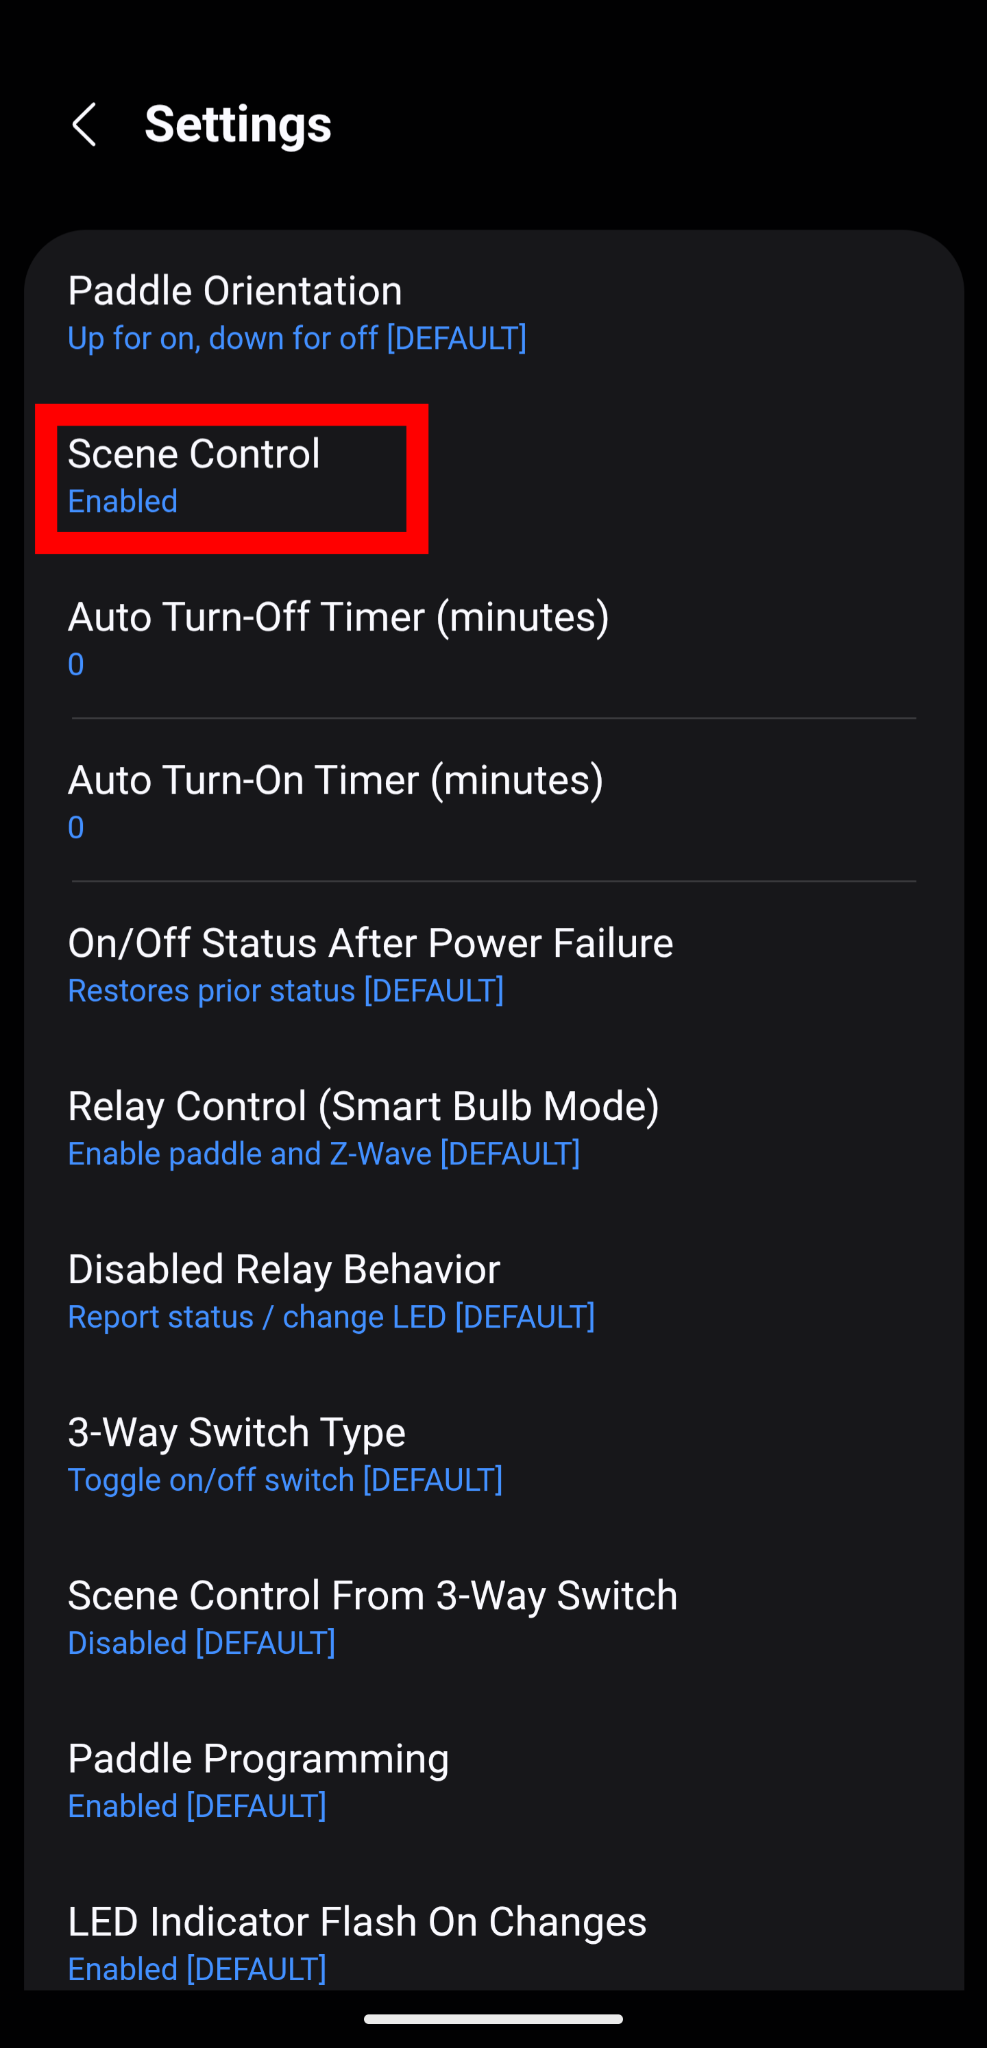
2. Click Settings.


3. Ensure Scene Control is Enabled.
4. Return to the Home screen. Click Routines from the options on the bottom, then click the + icon in the top right corner of the screen.
5. Under Create routine, click If + Add what will trigger this routine.


6. From the options, select Device status.
7. Under Select devices, choose the Zooz Switch you wish to use to trigger the automation.
8. The available multi-tap options will display. Select the paddle action you want to use to trigger the automation.


9. To choose the action portion of the scene, click Then + Add what this routine will do.
10. Under Then, choose any of the available options for your preferred action. In the example below, we are selecting Control devices to directly trigger another device that is included to the SmartThings hub.
11. Select the device you wish to control from the options on the list. Click Next.


12. Choose what you want the controlled device to do. Click Done.
13. Add any additional triggers or actions to the scene. Click Save when done.
14. Select the Category the routine should display in. Click Save.


If you need to edit or delete your automation, simply open the Routines section from the lower screen menu in your SmartThings app. Tap once to edit it, press and hold to delete it.
Do you have more questions about programming scene control on your switch? Just reach out to us!

