
If your ZEN04 works 100% manually, then it's time to add it to your Home Assistant Z-Wave network!
With the new ZWaveJS integration of Home Assistant, your smart home setup becomes more seamless, robust, and future-ready. We strongly recommend upgrading to this integration to ensure your Zooz devices are recognized and function correctly.
The latest Z-Wave JS UI now supports Z-Wave Long Range (ZWLR), significantly extending the reach and reliability of your network. Even better, you now have the flexibility to use both traditional Z-Wave mesh and ZWLR devices on the same hub—giving you the best of both worlds. And with SmartStart QR code scanning now supported, device inclusion has never been quicker or easier.
When deciding which method to use, we recommend reading more about Z-Wave Long Range and how it differs from the Z-Wave mesh, as well as when to choose mesh vs ZWLR in the following two articles:
Z-Wave Long Range FAQ's
All About Z-Wave Long Range
Mesh or ZWLR is established at the time of inclusion; if you wish to change a currently included device from mesh to ZWLR or vice versa, this can only be done by excluding the device and re-including with the proper method.
Standard Mesh Inclusion
- In Home Assistant: open Configuration > Integrations > Z-Wave JS > Configure.
- Click on Add node.
- Click on Start Inclusion to initiate pairing.
- While the system is in inclusion mode, press the Z-Wave button 3 times very quickly (The LED indicator will start flashing blue to confirm inclusion mode and turn green for 1 second once inclusion is completed.)
- Home Assistant will confirm a successful inclusion
* If you’re using an S2 hub, it will ask you to enter the DSK PIN or scan the QR code printed on the side of the plug.
Z-Wave Long Range Inclusion or SmartStart Inclusion
The Z-Wave JS UI integration of Home Assistant now supports Z-Wave Long Range (ZWLR) and with the latest app update (minimum 2025.5), QR code scanning for SmartStart is now supported. You will need to ensure you are using a Z-Wave stick that supports ZWLR along with a ZWLR supporting version of the ZEN04 (minimum hardware/firmware 2.0)
IMPORTANT: Ensure the device you want to include is NOT powered on at this time. SmartStart will only work if the device is not powered on until step 6.
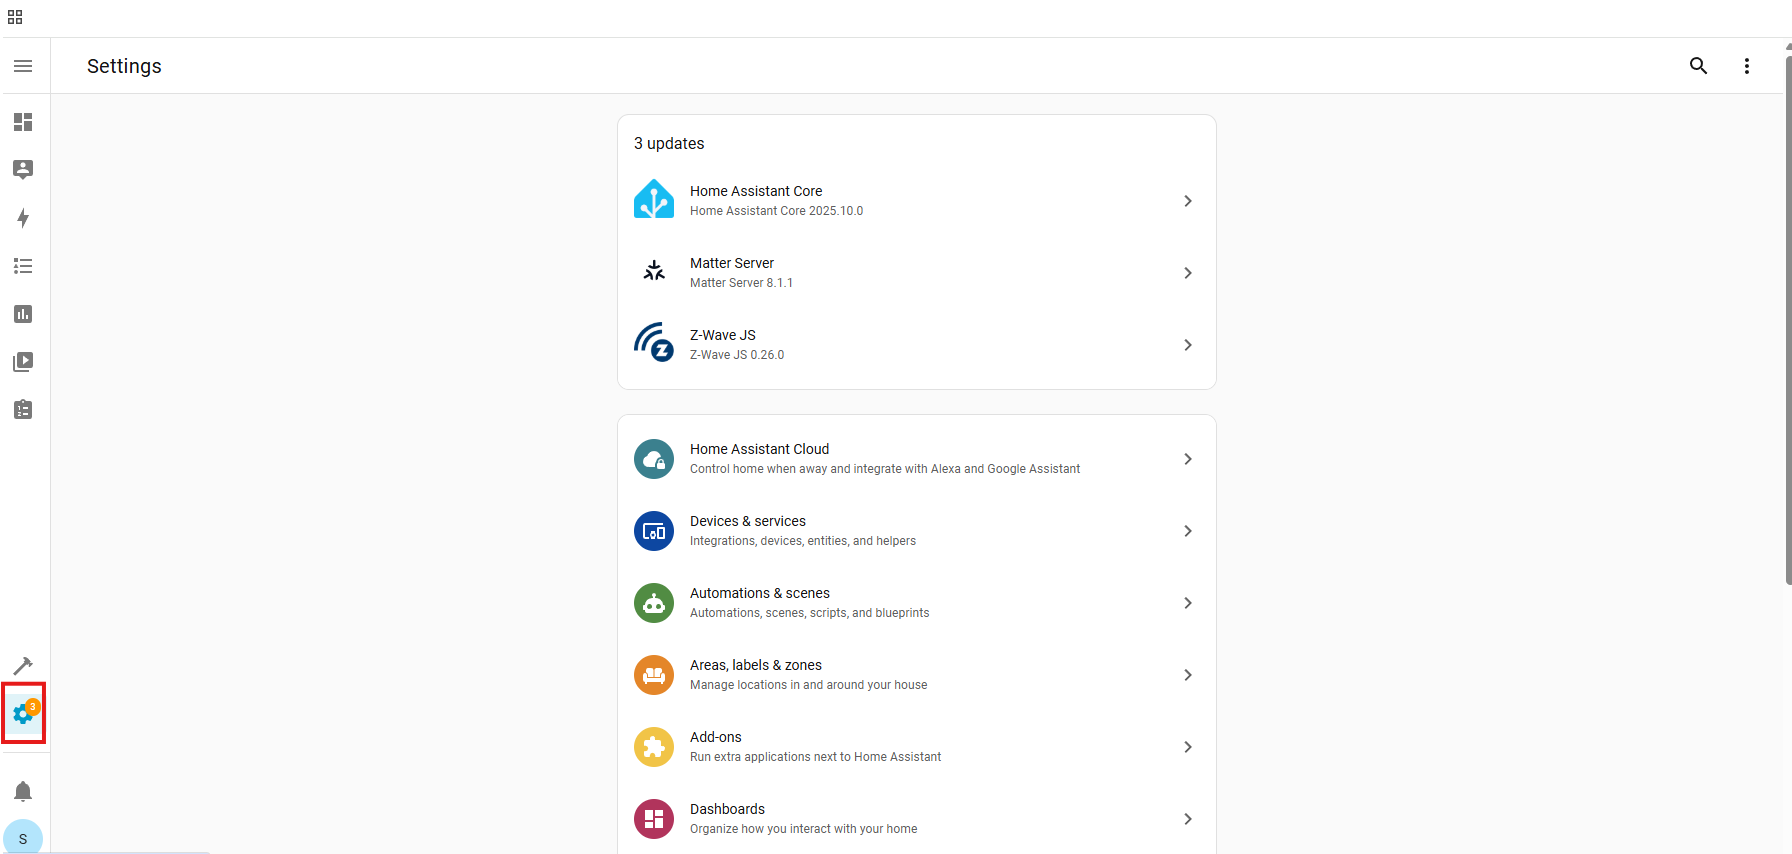
1. From the menu, click Settings.
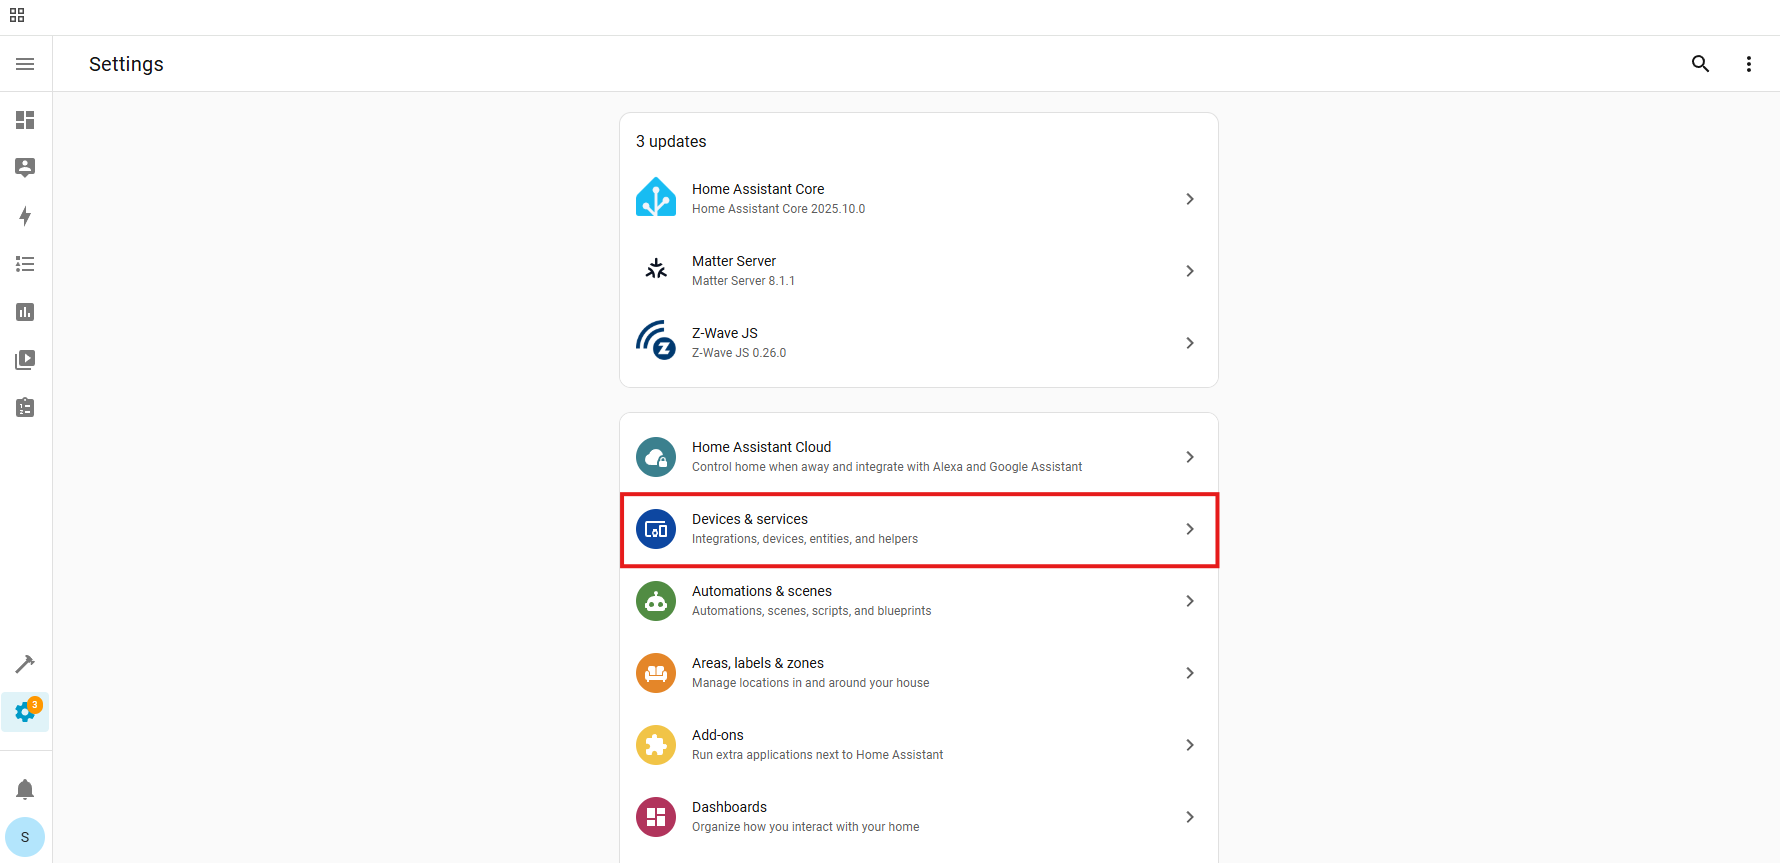
2. Choose Devices and Services.
3. From the devices page click Add Device.

4. Scan the QR Code from your ZWLR device.
5. Choose Direct Long Range.

6. Power on your device.
7. The device is now added with ZWLR.

SmartStart and Z-Wave Long Range Inclusion Troubleshooting
If you have previously added this device to your hub, or if SmartStart failed, or if the device will not include, please follow the steps below in order. Removing the device from the provisioning list if it is still there generally resolves most inclusion issues:
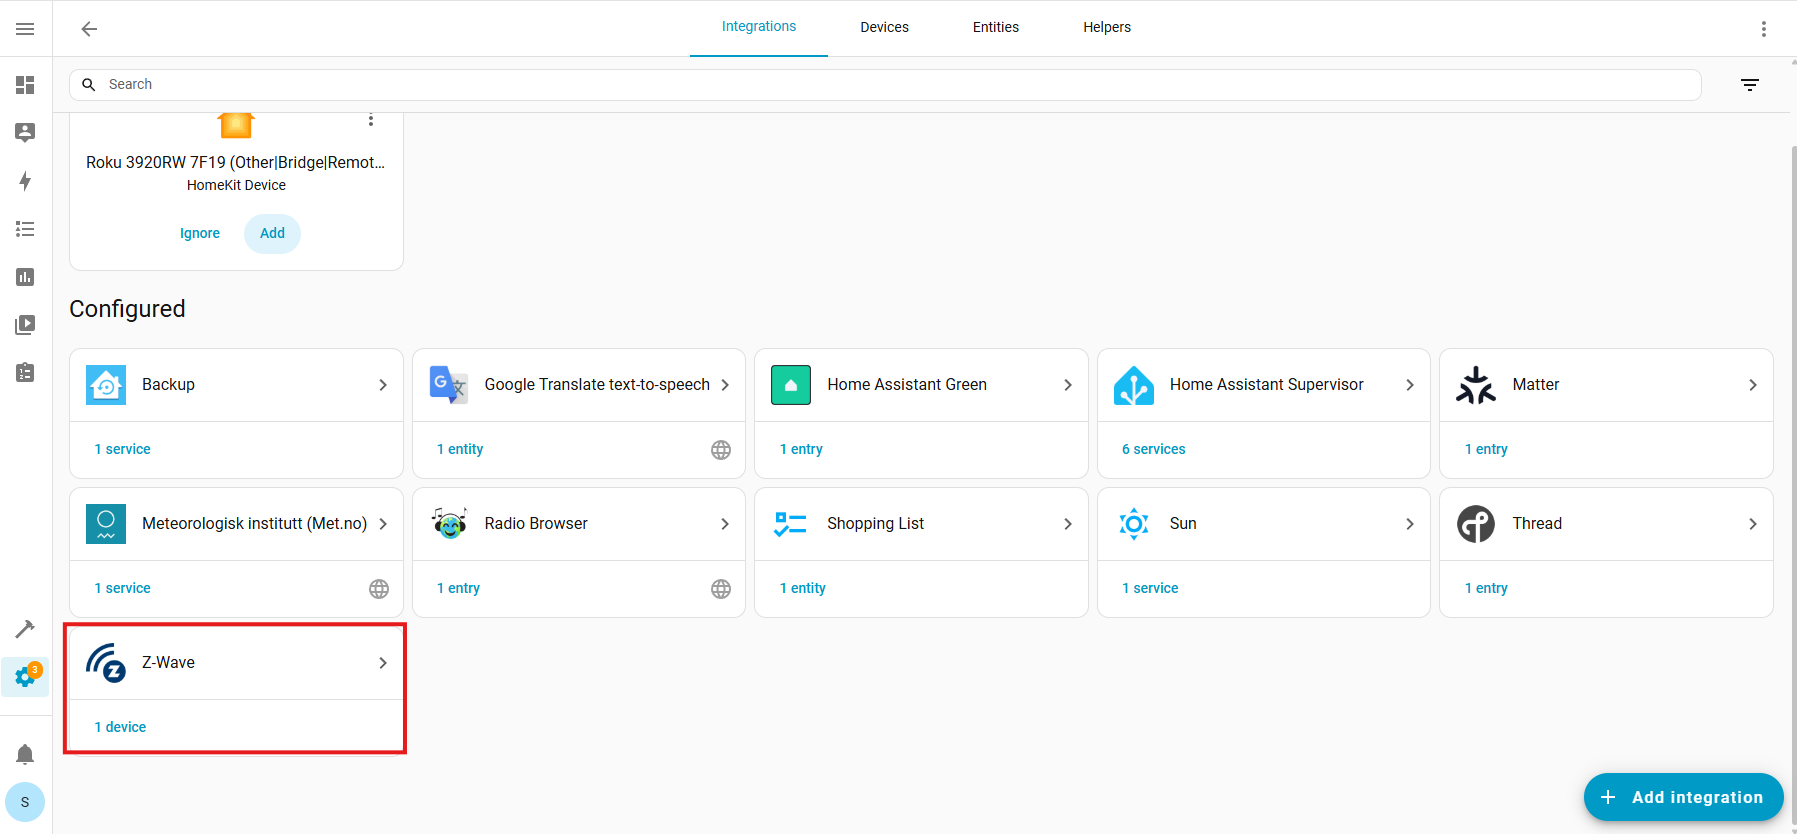
1. Check if the device is in the provisioning list:
Settings:
Devices & Services:
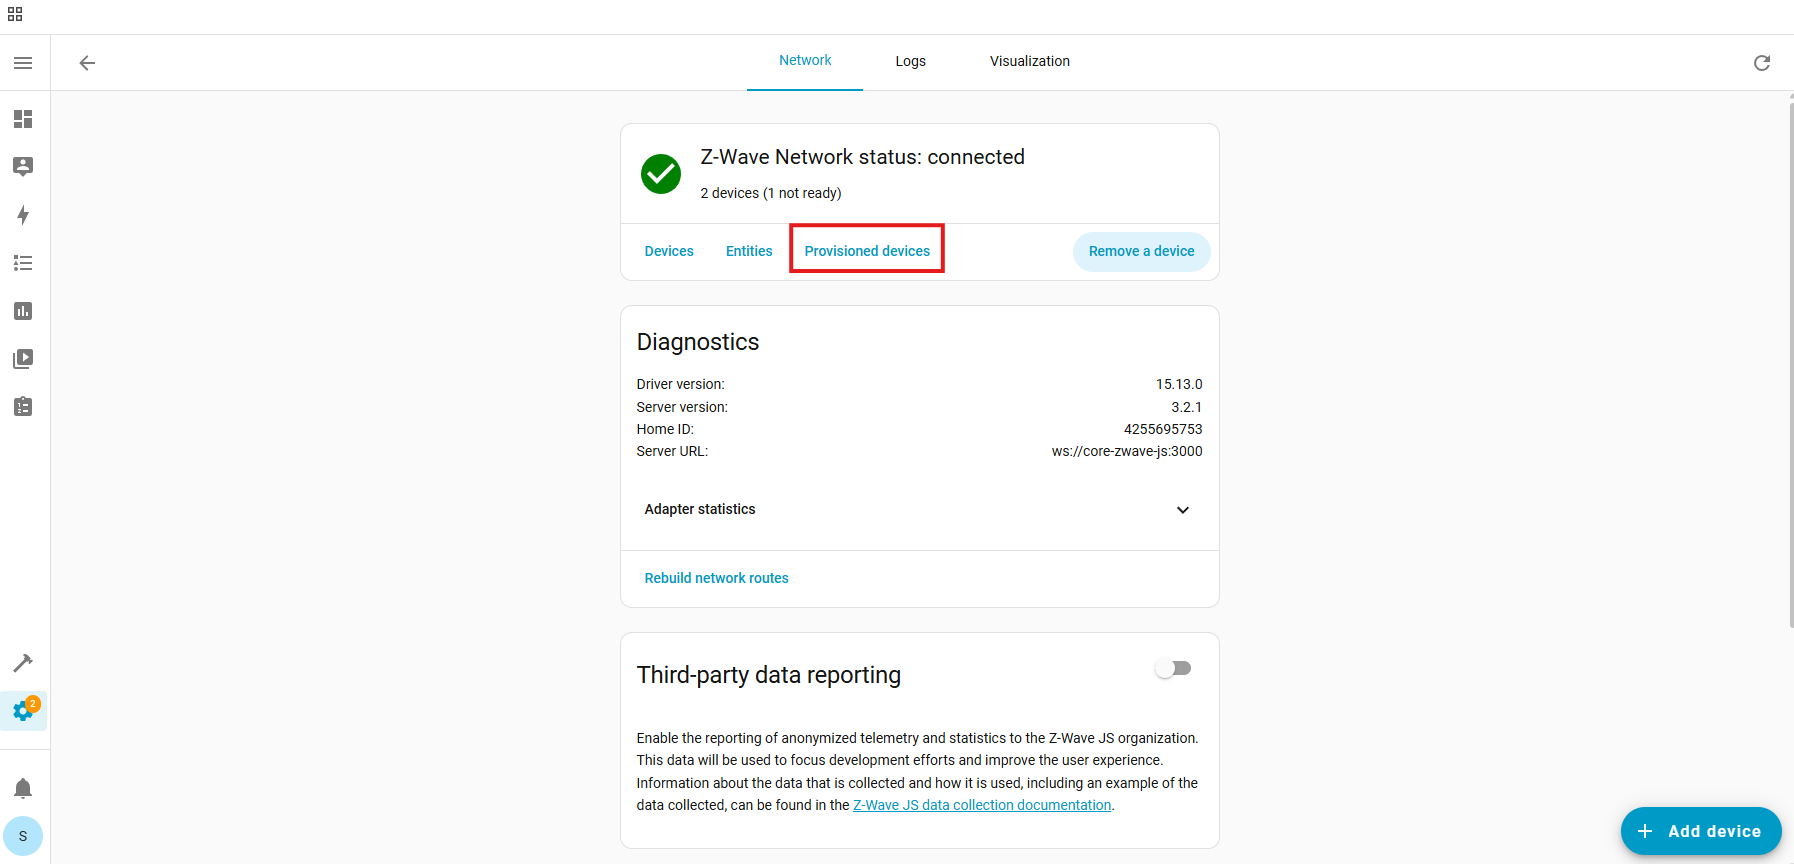
Z-Wave:
Configure Cogwheel:

Provisioned Devices:
Trash Icon (identify device by the DSK number):
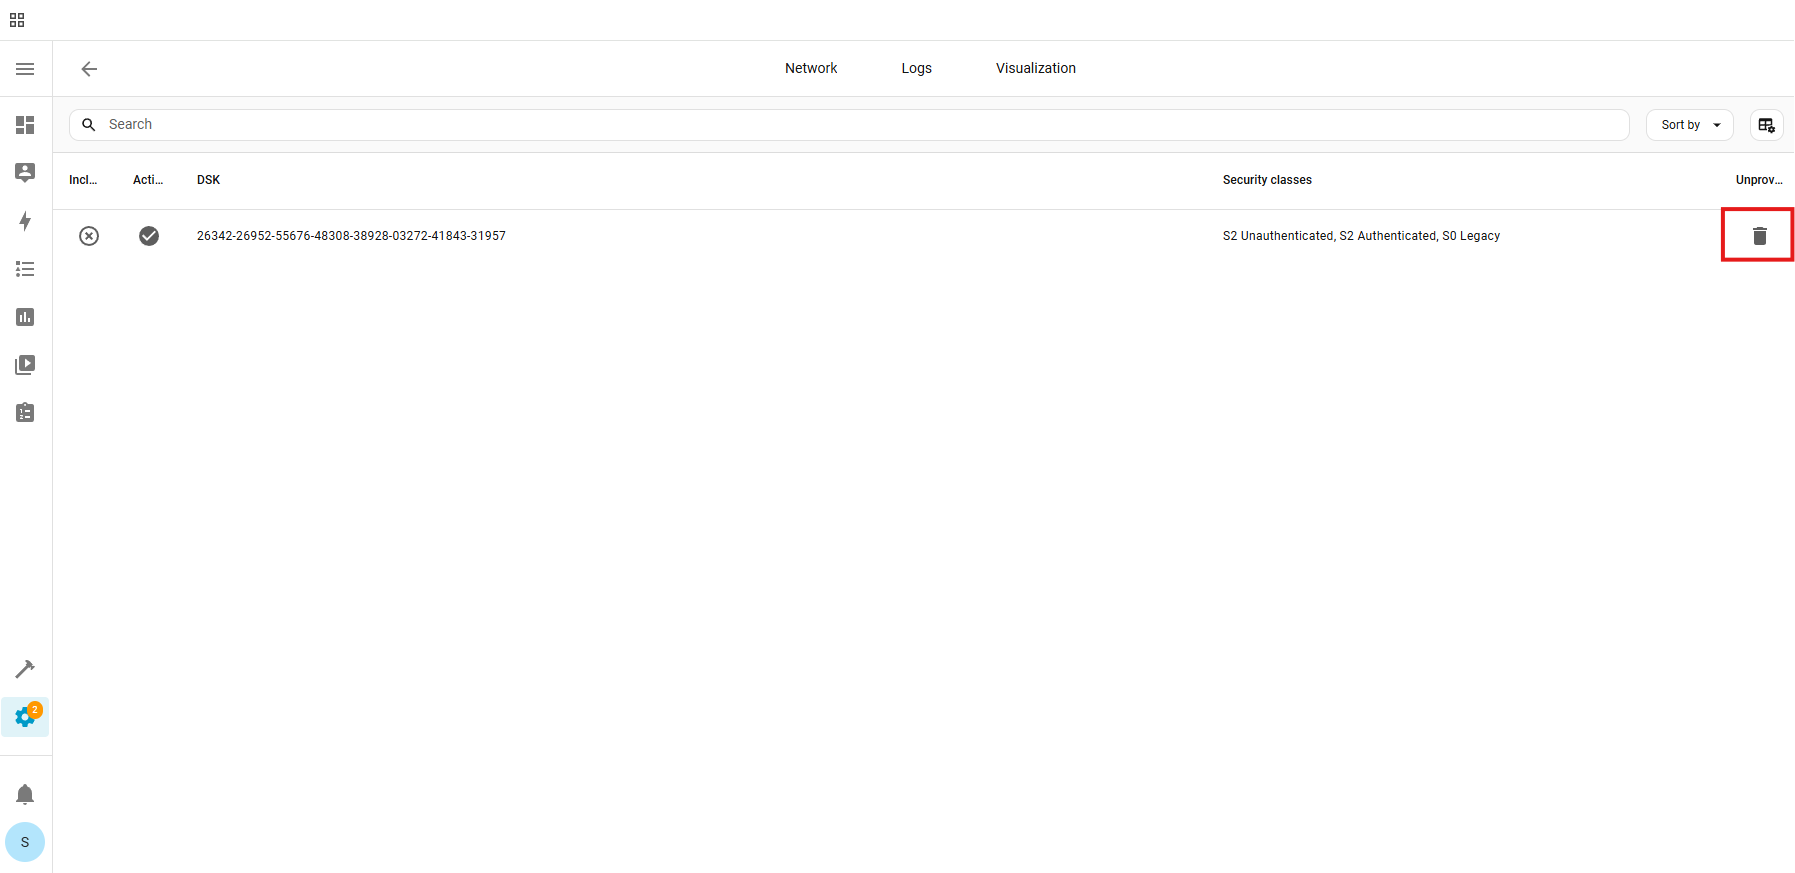
Unprovision:
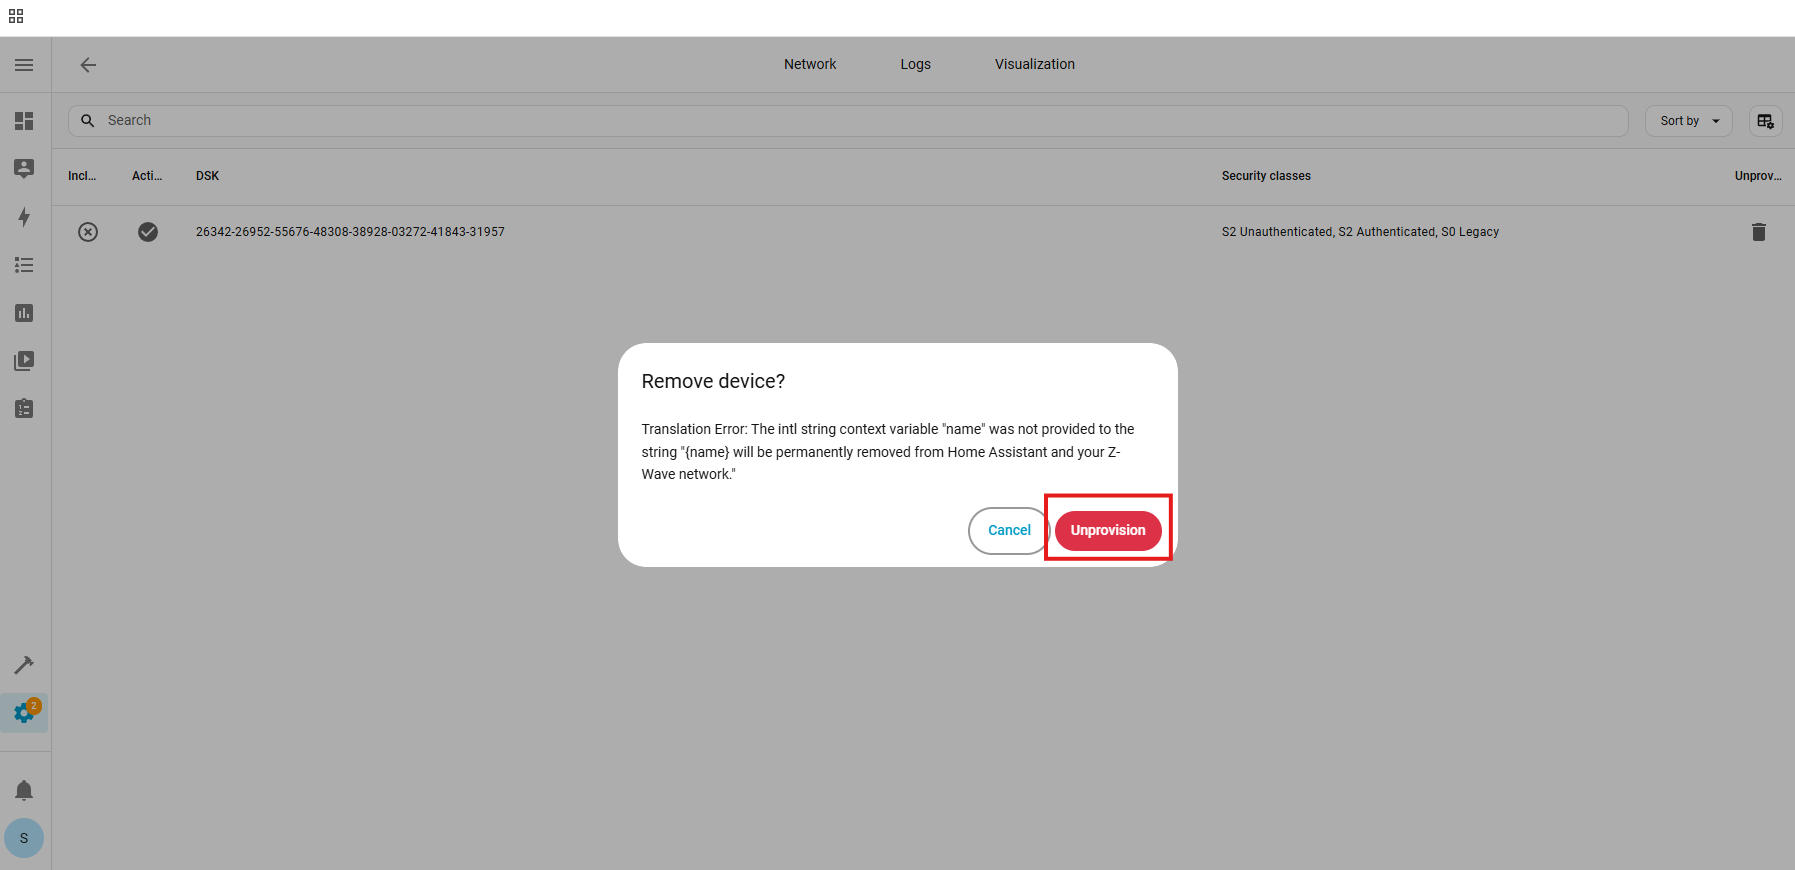
The device has now been removed from the provisioning list.
2. Factory reset the ZEN04. After a successful reset, the device will disappear from the device list.
3. Unplug the ZEN04 (this removes power from the device).
4. Go through the inclusion steps listed above to include the device (remember, power stays OFF until step 6).
Once the plug is paired, you'll be able to create rules for it, control it remotely, and customize it via the advanced settings.
If your ZEN04 is having trouble connecting to your Z-Wave network, try the troubleshooting steps here.
Send us message if you have any questions or are having issues with your Smart Plug.

