
Z-Wave Direct Association is a feature of Z-Wave technology that allows for direct communication between Z-Wave devices without needing to go through the Z-Wave hub/controller. With Direct Association, devices can be linked together so that one device can trigger actions on another device within the Z-Wave network, enhancing efficiency and keeping your automations running even when the hub is down.
When creating Direct Associations on SmartThings, please note that SmartThings will not natively provide access to Direct Association functionality with the stock SmartThings drivers. In order to access this functionality, you will need to use the custom Edge driver for each Zooz device in order for Direct Association groups to appear in the device settings.
When you include your Zooz devices, make sure you install the custom driver and that it has been properly assigned to the device. The driver links and instructions can be accessed in the "How to Access the Advanced Settings" articles we have for each device in the Knowledge Base, or in the link above.
Locate Network ID for Controlled Device
For direct association, you will have the controlling device (think of this as the trigger device) and the controlled device (action device). Since direct association is a one-way communication, you set the associaion on the master/controlling device. In order to do so, you need the network ID for the controlled (action) device. SmartThings has changed their layout, and now the network ID can only be referenced via my.smartthings.com and is not available in the app any longer.
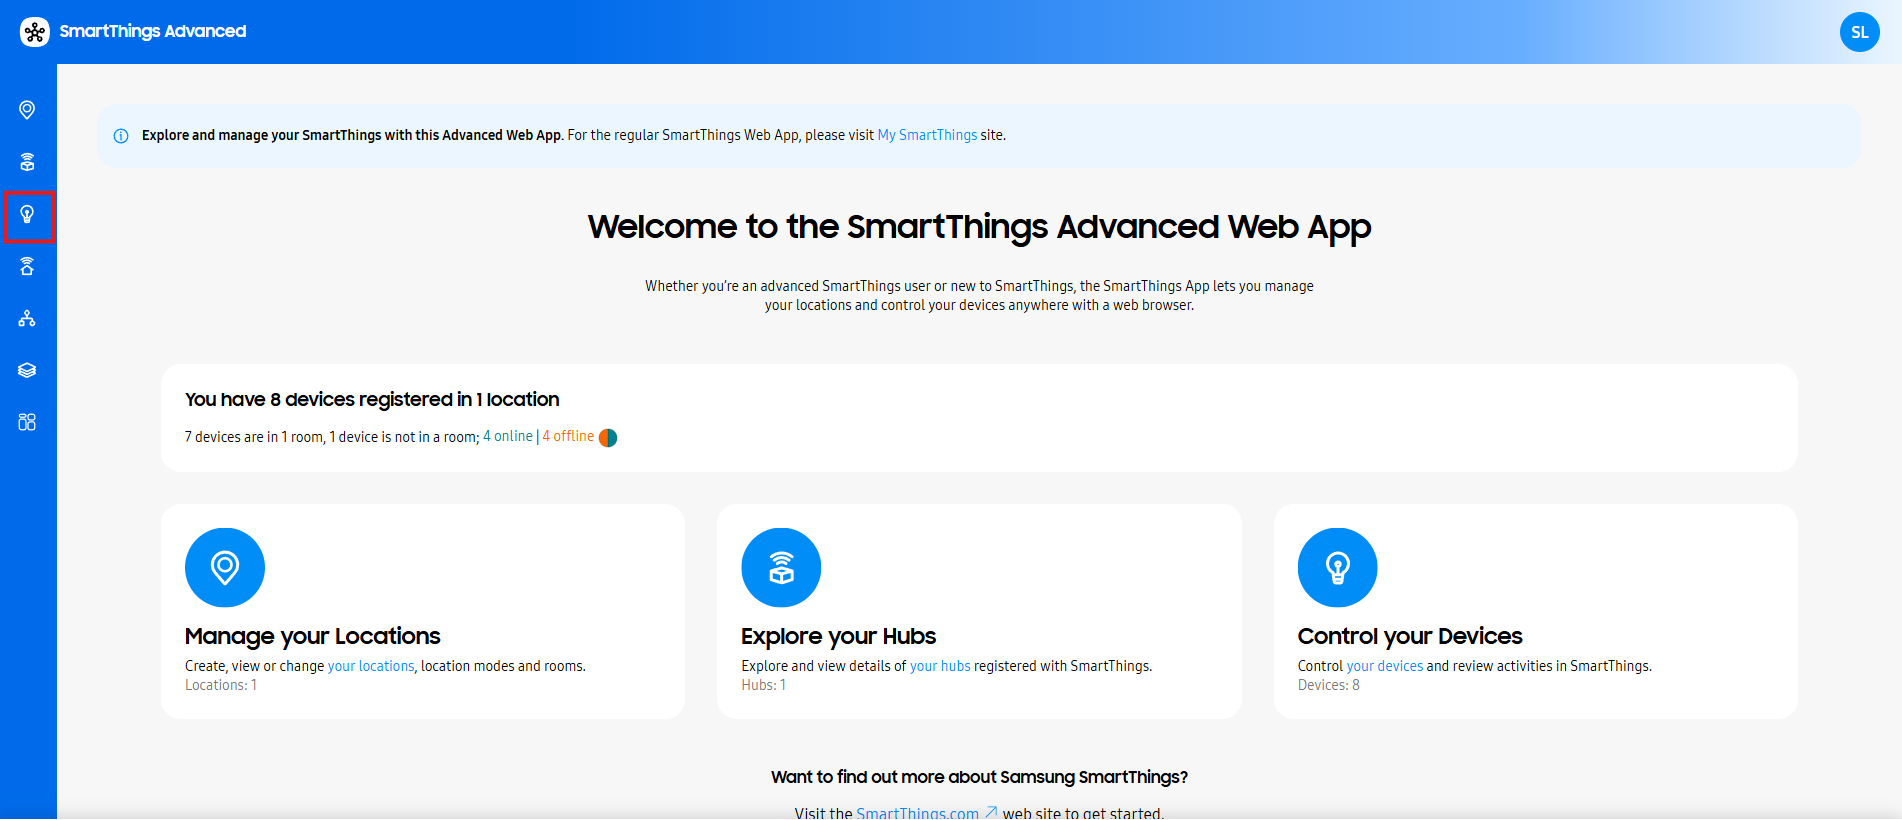
1. Access my.smartthings.com and login to your account. Click the 3 dots in the upper right corner > select Advanced Users.

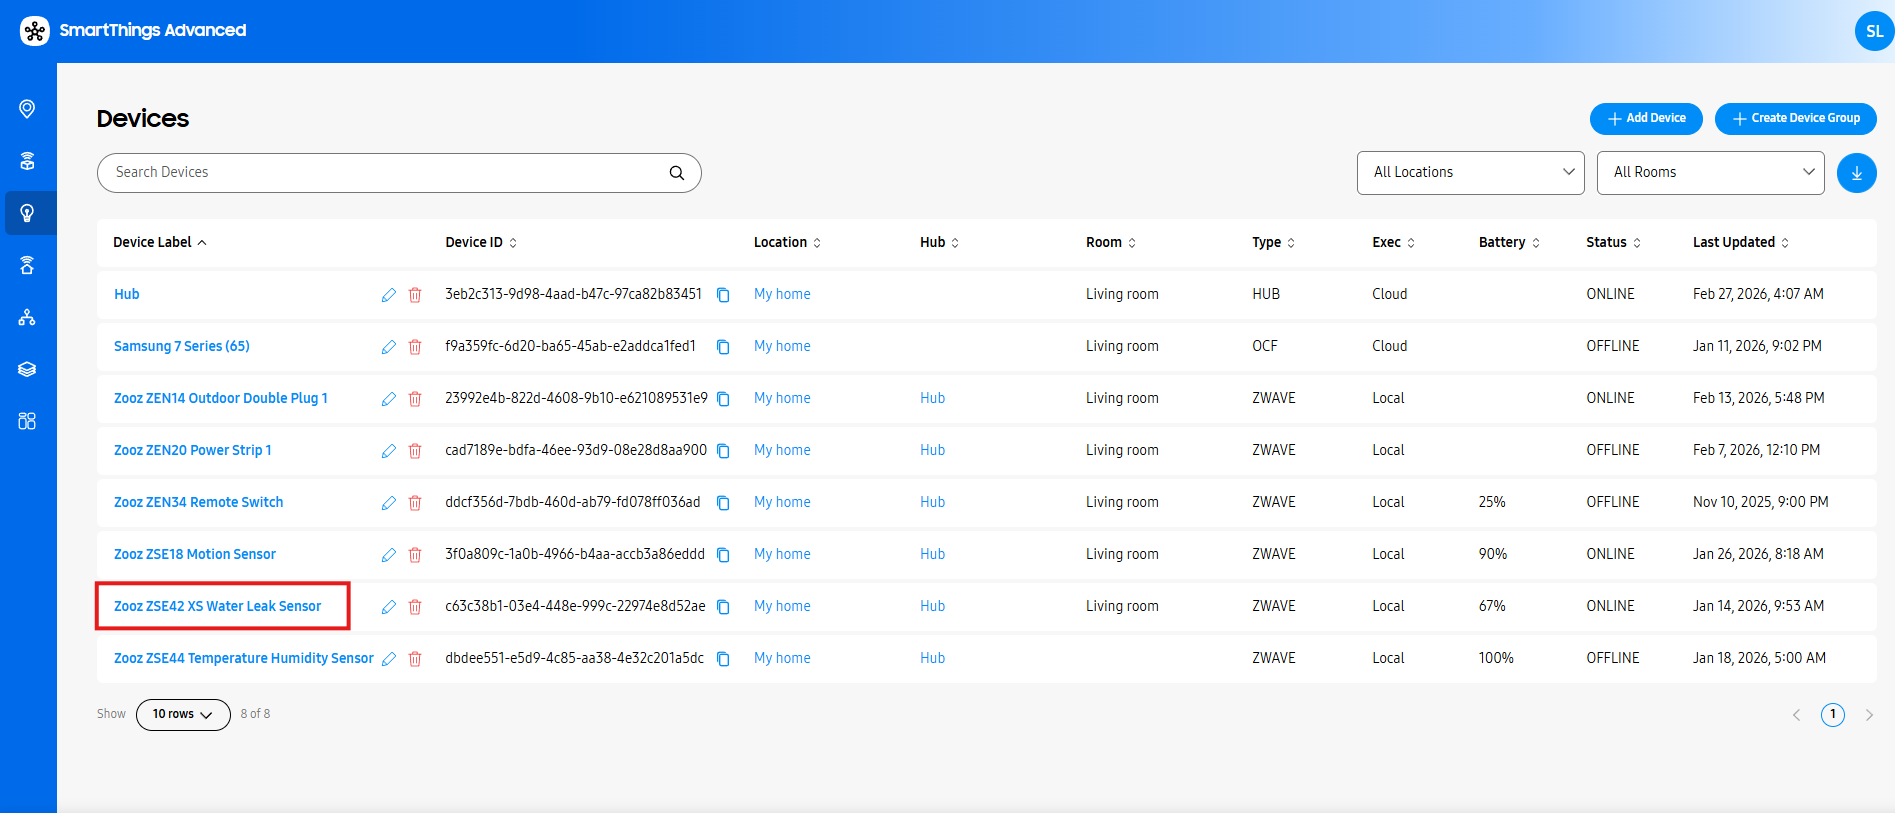
2. Click the light bulb icon on the left side (devices).
3. Click on the controlled (action) device to open the details.
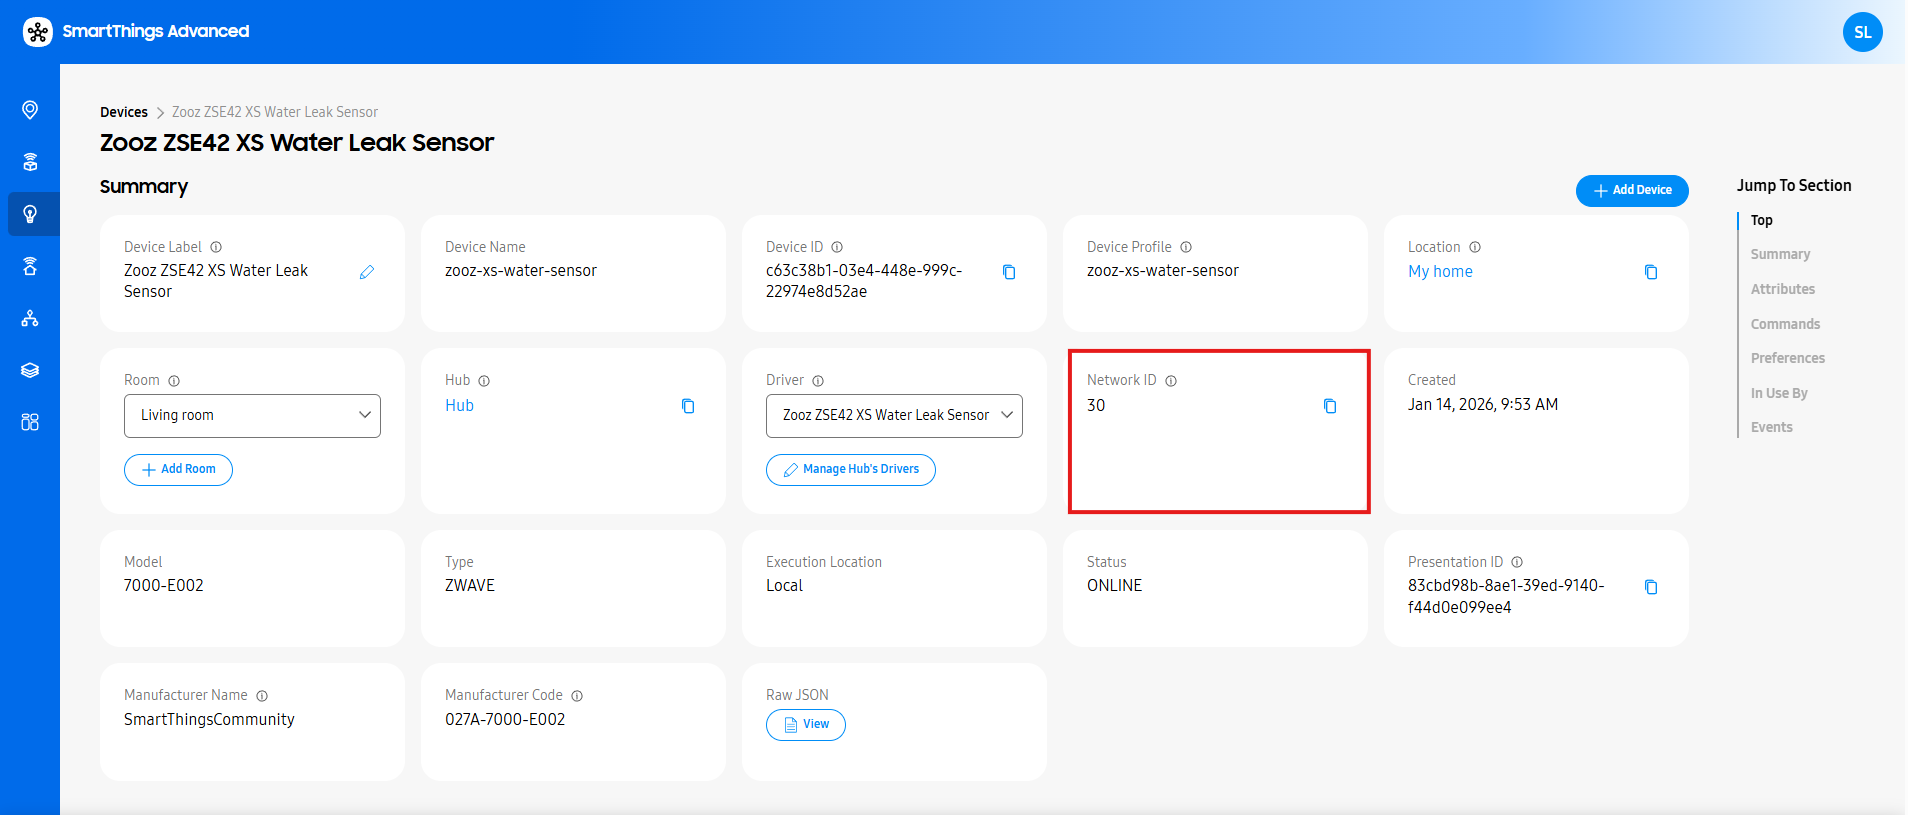
4. This page will show the device's Network ID. Note the ID number, as you will use this in the following section.
Program the Association
The following can all be done in the SmartThings App.
1. Ensure all devices involved in the association are included with the exact same level of security. In our example below, we'll be using the ZEN77 as the master device, and associating the ZEN04 (controlled/action device) to it.

3. Navigate to the controlling device's tile and open it; in this example, the master/controlling device is the ZEN77. Click on the 3 dots in the top right of the screen and select "Settings."

4. Scroll to the bottom where it shows the Basic Set and Multilevel Association settings.

5. Input the Network Device ID you noted in Step 2 for the controlled device into the proper group (basic set for on/off, multilevel for dimming) and click "Save"

8. The controlled device's Network ID (Network ID 1C for the ZEN04 in this example) will appear on the controlling device's main page (ZEN77 in this example) in "Association Group Devices" if successful:

If any battery powered devices are involved in the association, please ensure you follow the manual wake-up process for the device, found in each manual, to ensure the association is recognized on the battery powered device.
Please don't hesitate to reach out with any questions!

