
Once you've successfully installed the ZAC36 on your water valve, you can pair it with your Home Assistant network. Always mount the device securely and calibrate it before trying to add the actuator to your Z-Wave system. The Titan will fit on valves up to 1.25". Is your pipe larger? Reach out to us about an extension kit for the ZAC36 to accommodate larger pipes/valves.
With the new ZWaveJS integration of Home Assistant, your smart home setup becomes more seamless, robust, and future-ready. We strongly recommend upgrading to this integration to ensure your Zooz devices are recognized and function correctly.
The latest Z-Wave JS UI now supports Z-Wave Long Range (ZWLR), significantly extending the reach and reliability of your network. Even better, you now have the flexibility to use both traditional Z-Wave mesh and ZWLR devices on the same hub—giving you the best of both worlds. And with SmartStart QR code scanning now supported, device inclusion has never been quicker or easier.
When deciding which method to use, we recommend reading more about Z-Wave Long Range and how it differs from the Z-Wave mesh, as well as when to choose mesh vs ZWLR in the following two articles:
Z-Wave Long Range FAQ's
All About Z-Wave Long Range
Mesh or ZWLR is established at the time of inclusion; if you wish to change a currently included device from mesh to ZWLR or vice versa, this can only be done by excluding the device and re-including with the proper method.
Standard Mesh Inclusion
- In Home Assistant: open Configuration > Integrations > Z-Wave JS > Configure.
- Click on Add node.
- Click on Start Inclusion to initiate pairing. If you’re using an S2 hub, it will ask you to enter the DSK PIN or scan the QR code printed on the metal faceplate of the switch to complete SmartStart inclusion.
- While the system is in inclusion mode, tap the Z-Wave button 3 times quickly - it's a touch button so wait for a beep each time you press it (there will be no tactile feedback like on a push button).
- Home Assistant will confirm a successful inclusion
Z-Wave Long Range Inclusion
The Z-Wave JS UI integration of Home Assistant now supports Z-Wave Long Range (ZWLR) and with the latest app update (minimum 2025.5), QR code scanning for SmartStart is now supported. You will need to ensure you are using a Z-Wave stick that supports ZWLR along with a ZWLR supporting version of the ZAC36 (minimum hardware 4.0 / firmware 2.0).
Ensure the device you want to include is NOT powered on at this time. SmartStart will only work if the device is not powered on until step 6.
1. From the menu, click Settings.
2. Choose Devices and Services.
3. From the devices page click Add Device.

4. Scan the QR Code from your ZWLR device.
5. Choose Direct Long Range.
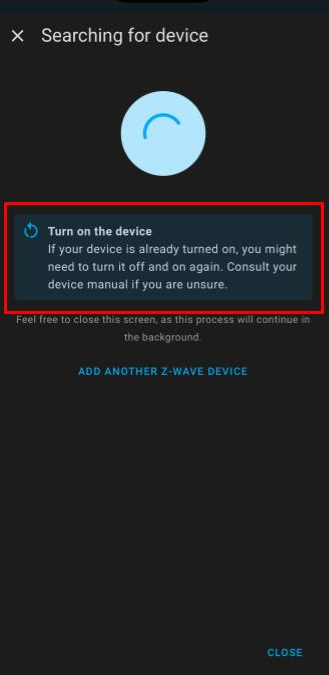
6. Power on your device.
7. The device is now added with ZWLR.
Once the ZAC36 is connected to Home Assistant, you can schedule automations, turn it on/off remotely, and customize it to your needs via the advanced settings.
If the ZAC36 won't include to your network, check out the troubleshooting steps here.
Device Display
Below we've provided screenshots detailing how the ZAC36 will display for you in Z-Wave JS of Home Assistant:
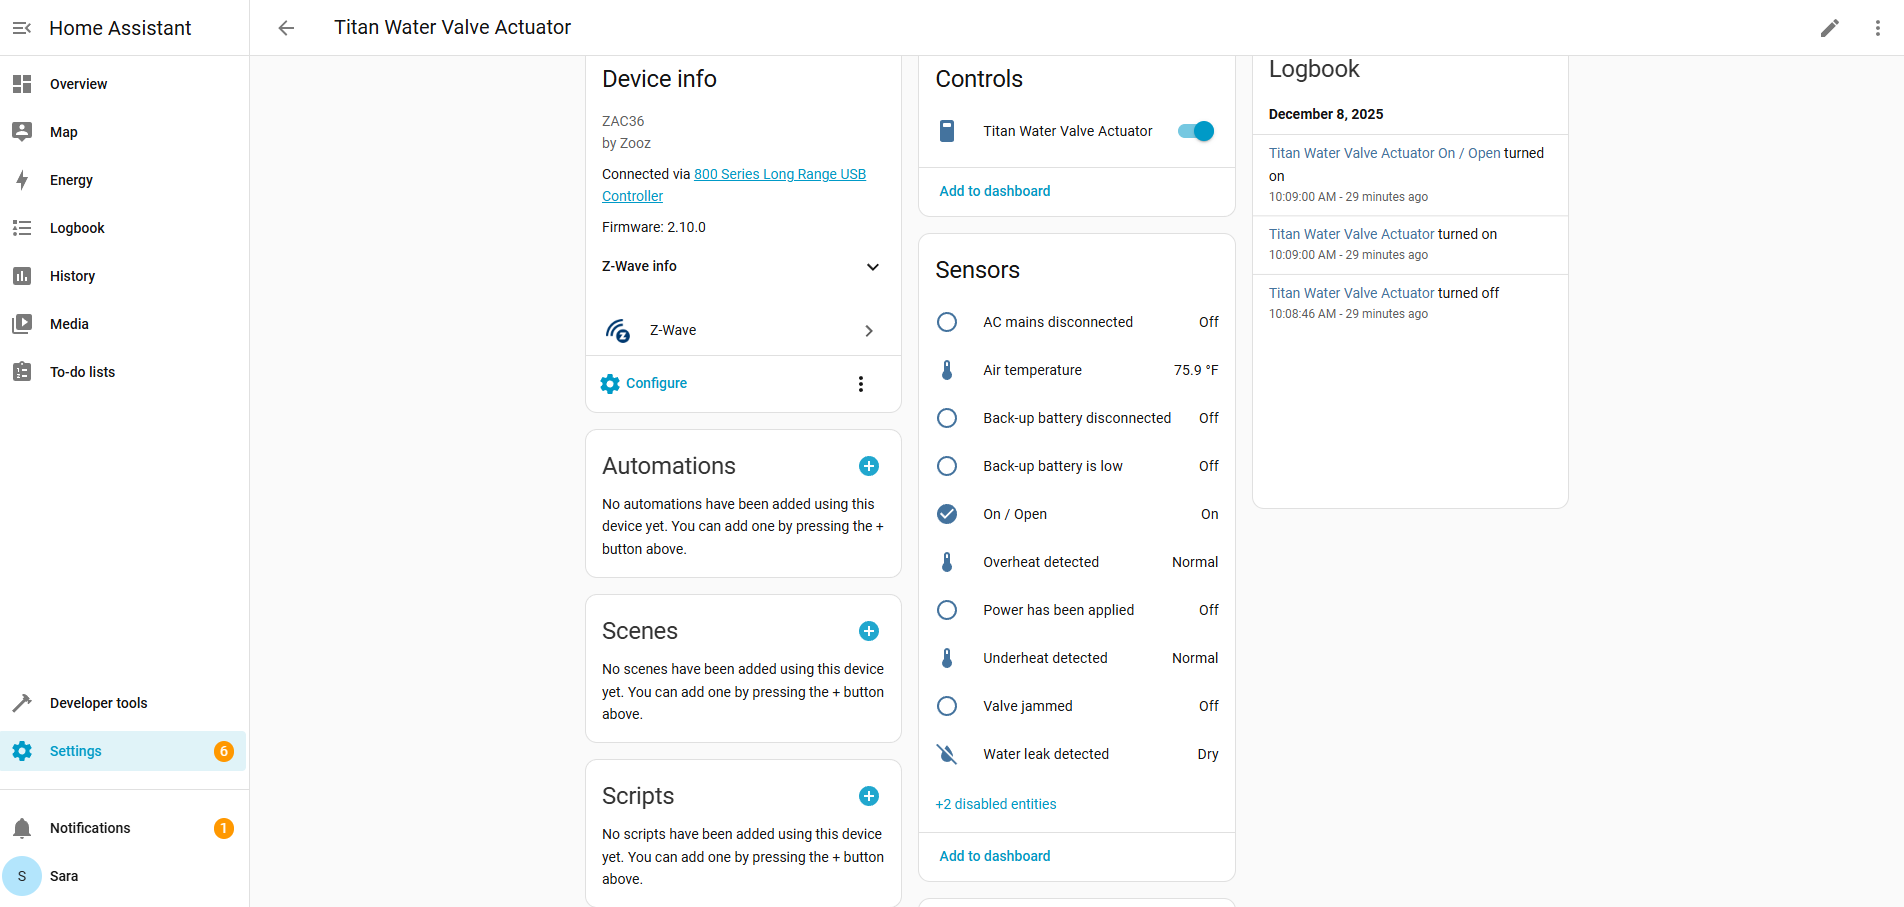
Main Device Screen
The Device Info screen in Z-Wave JS is a hub for understanding and managing an individual Z-Wave device. It provides a detailed snapshot of the device's capabilities, current status, and communication with your Z-Wave network.
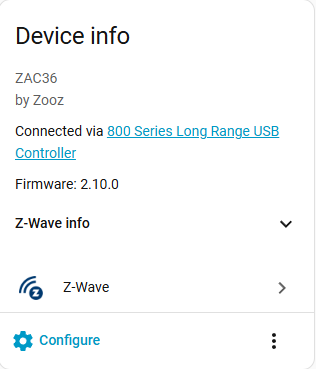
Device Info
This provides information about your device, such as firmware, node ID and security level
- Blue Z-Wave Icon: indicates mesh connection; Z-Wave LR will display as Purple.
- Configure will take you to the Parameters / Settings (see Configuration section below)
- 3 dots will bring up Re-interview, Rebuild routes, Statistics, Update (for OTA firmware updates), Download diagnostics, and Delete.
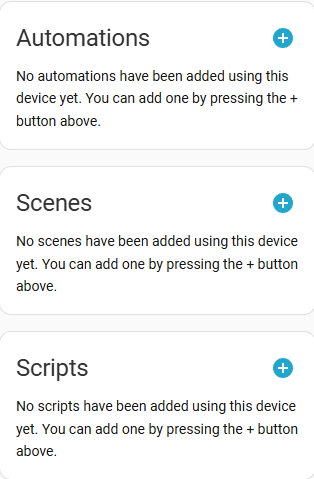
Automations, Scenes & Scripts
These sections are shortcuts to programming your device via scenes/rules, etc.
Automations: Rules that trigger actions automatically when certain conditions are met. Trigger → Condition → Action pattern. Automations run automatically whenever their trigger happens.
-
Example: Trigger: Motion sensor detects movement; Condition: Only after sunset; Action: Turn on a Z-Wave light switch.
-
Use case: Ideal for dynamic, event-driven control of devices. Automations run automatically whenever their trigger happens.
Scenes: A predefined set of states for multiple devices that can be activated together.
-
Example: Scene “Movie Time”: Living room lights dim to 30%, TV turns on, blinds close.
-
Use case: Great for setting a mood or state with one action. Scenes don’t run automatically unless triggered by something (like an automation or a button).
Scripts: A sequence of actions you can run manually or via automation.
-
Example: Script “Goodnight”: Turn off all lights, lock doors, turn on outdoor lights.
-
Use case: Useful for more complex, sequential actions that may include delays, conditions, or multiple device types. Scripts can be run manually, by automations, or by scenes.
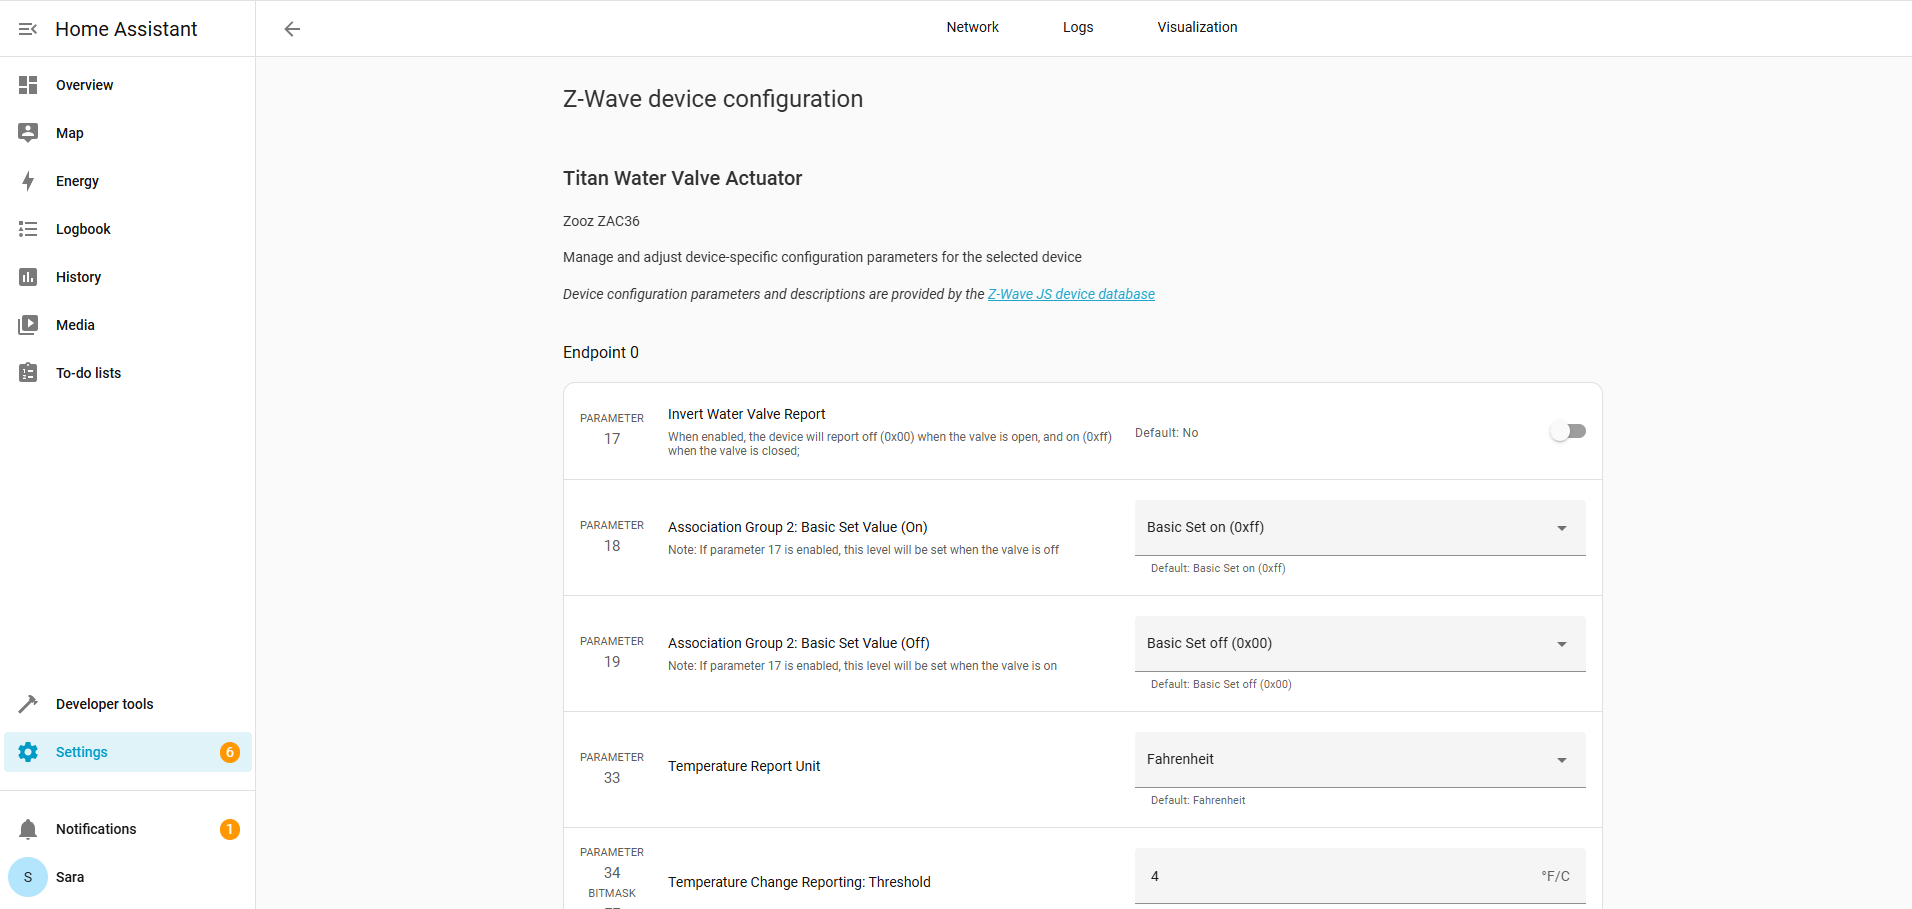
Configuration
These are the device parameters (also called advanced settings). To access this page, cilck the blue cogwheel Configure button in the Device Info Tab. This is where you can customize your device. See here for more information on the ZAC36 Advanced Settings.
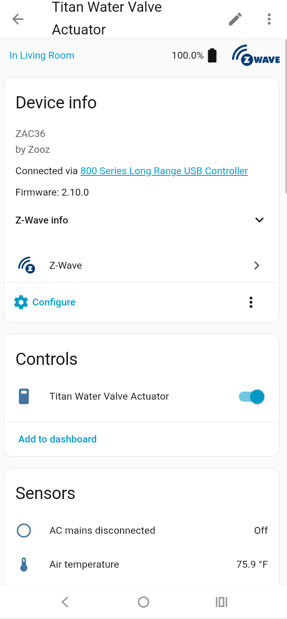
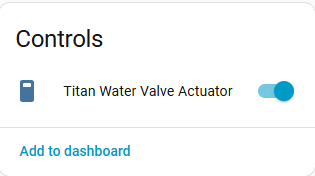
Controls
The ZAC36 will display in the Controls with a single toggle. The valve is currently open; to close the valve, simply toggle the control.
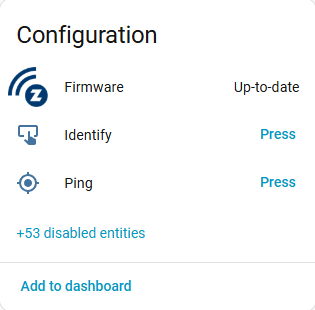
Configuration
The configuration tab will let you see if there is a firmware update available for your device, as well as identify or ping your device.
-
Identify: Sends a command to the device so it physically signals itself so you can tell which device it is. The ZAC36 LED indicator will blink when Identify is pressed.
-
Useful for confirming which physical device matches a Z-Wave node in your network.
-
-
Ping: Sends a network-level “are you alive?” message to the device and checks whether the hub can communicate with the device and measures its responsiveness. Useful for troubleshooting network issues, especially for devices that are unresponsive or for testing connectivity after moving a device.
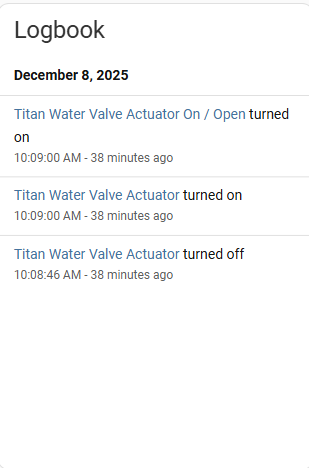
Both Identify and Ping actions will show in the Logbook.
Logbook
The Logbook in Z-Wave JS shows a human-readable history of your devices’ activity, including state changes, scene triggers, and sensor updates, making it easy to review what happened over time. It’s essentially a chronological summary of events for troubleshooting or monitoring.
Sensors
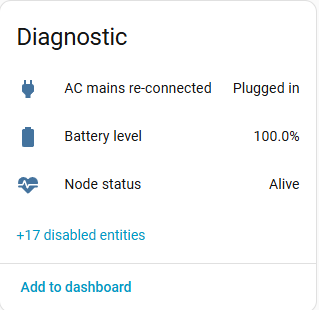
This section in the Home Assistant Z-Wave JS interface shows all sensor and diagnostic states reported by the ZAC36 Titan Valve Actuator. It provides real-time status for conditions like valve position, temperature, leak detection, power state, battery backup status, and any fault or safety alerts. It’s a quick way to see the device’s health and operating conditions at a glance.

Diagnostic
Send us a message if you have any other questions!

