
While not needed for basic operation, you may opt in for the community custom driver created by bertabcd1234 to gain access to the full multi-tap functionality and more advanced settings.
At the moment, you'll only be able to use the button controller features of the device since direct association is not available on Hubitat yet. The platform only supports a single or double press, held, and released triggers for buttons so the documented 3, 4, or 5-taps will only be exposed in Hubitat once you install the community driver. Even with the community driver, Direct Association is not available for the ZEN32 on Hubitat; this is a platform limitation.
Central Scene / Scene Control
The Zooz ZEN32 is a Z-Wave scene controller with 5 physical buttons, all capable of triggering Central Scene commands. This means every button can be used to trigger hub-based automations based on how it’s pressed — no need for direct device associations (unless you want them). Each button on the ZEN32 sends a Scene Number, and different press types (tap, hold, release, etc.) are distinguished by Key Attributes.
Scene Numbers and Button Mapping
Here's how the ZEN32 buttons are mapped to Central Scene scene numbers:
|
Button |
Scene Number |
Description |
|
Switch Button |
|
The large center button |
|
Button 1 |
|
Small button, top left |
|
Button 2 |
|
Small button, top right |
|
Button 3 |
|
Small button, bottom left |
|
Button 4 |
|
Small button, bottom right |
|
ZAC99 (if used in 3-way) |
|
Reports separately when used |
Each button supports 7 key attributes (aka action types):
|
Key Attribute |
Action Type |
|
0 |
Key Pressed Once |
|
1 |
Key Released |
|
2 |
Key Held Down |
|
3 |
Key Pressed 2x |
|
4 |
Key Pressed 3x |
|
5 |
Key Pressed 4x |
|
6 |
Key Pressed 5x |
So for example:
-
Pressing Button 1 once = Scene 1, Key Attribute 0
-
Holding Switch Button = Scene 5, Key Attribute 2
-
Double tapping Button 3 = Scene 3, Key Attribute 3
ZEN32 + ZAC99 Momentary in 3-Way Setup
Are you looking to have scene control options from the other locations when installing the ZEN32 in a multi-way location? You can use the ZAC99 Momentary switch in the other location(s) in your multi-way installation and use the reported events to trigger scenes.
This option is not available from a standard, dumb on/off switch because the ZEN32 is designed to trigger scenes based on momentary inputs—quick presses that send a signal to activate a programmed scene. A standard "dumb" on/off switch physically changes the electrical state (open or closed circuit) instead of providing the momentary signal input. With a momentary switch like the ZAC99, the ZEN32 consistently receives clean, simple press events it can interpret correctly to trigger scenes, ensuring smooth and reliable scene control.
The ZAC99 is SPST and only the top portion of the switch is pressed. If you click the switch once, it will turn on. If you press and hold it while it's on, it will decrease brightness (when connected with a dimmer in a 3-way). If you click it again, it'll turn off. Once off, when you press and hold it will increase brightness.
If you're wiring a ZAC99 momentary switch to the ZEN32 to control it from another location (e.g. a 3-way circuit), the ZAC99 will trigger Scene 6 with the same key attributes:
|
Device |
Scene Number |
|
ZAC99 |
|
This allows the hub to recognize the input from the remote switch and automate accordingly.
For example:
-
Tapping ZAC99 once = Scene 6, Key Attribute 0
-
Holding ZAC99 = Scene 6, Key Attribute 2
This gives you full automation capability from both the ZEN32 and the auxiliary switch location.
Summary
-
The ZEN32 uses scene numbers 1–5 for its built-in buttons.
-
Each button supports 7 types of press actions via key attributes.
-
If a ZAC99 momentary switch is wired for remote control, it reports as Scene 6.
-
Your hub can create distinct automations for each combo of button and press type.
Simple Automation Rules
The easiest way to program the Scene Controller is with the Simple Automation Rules app:
1. Click on Apps in the side menu

2. Click on "+ Add Built-in App" in the top right corner

3. Select Simple Automation Rules

4. Click on the Simple Automation Rules app under Apps now that you've added it.

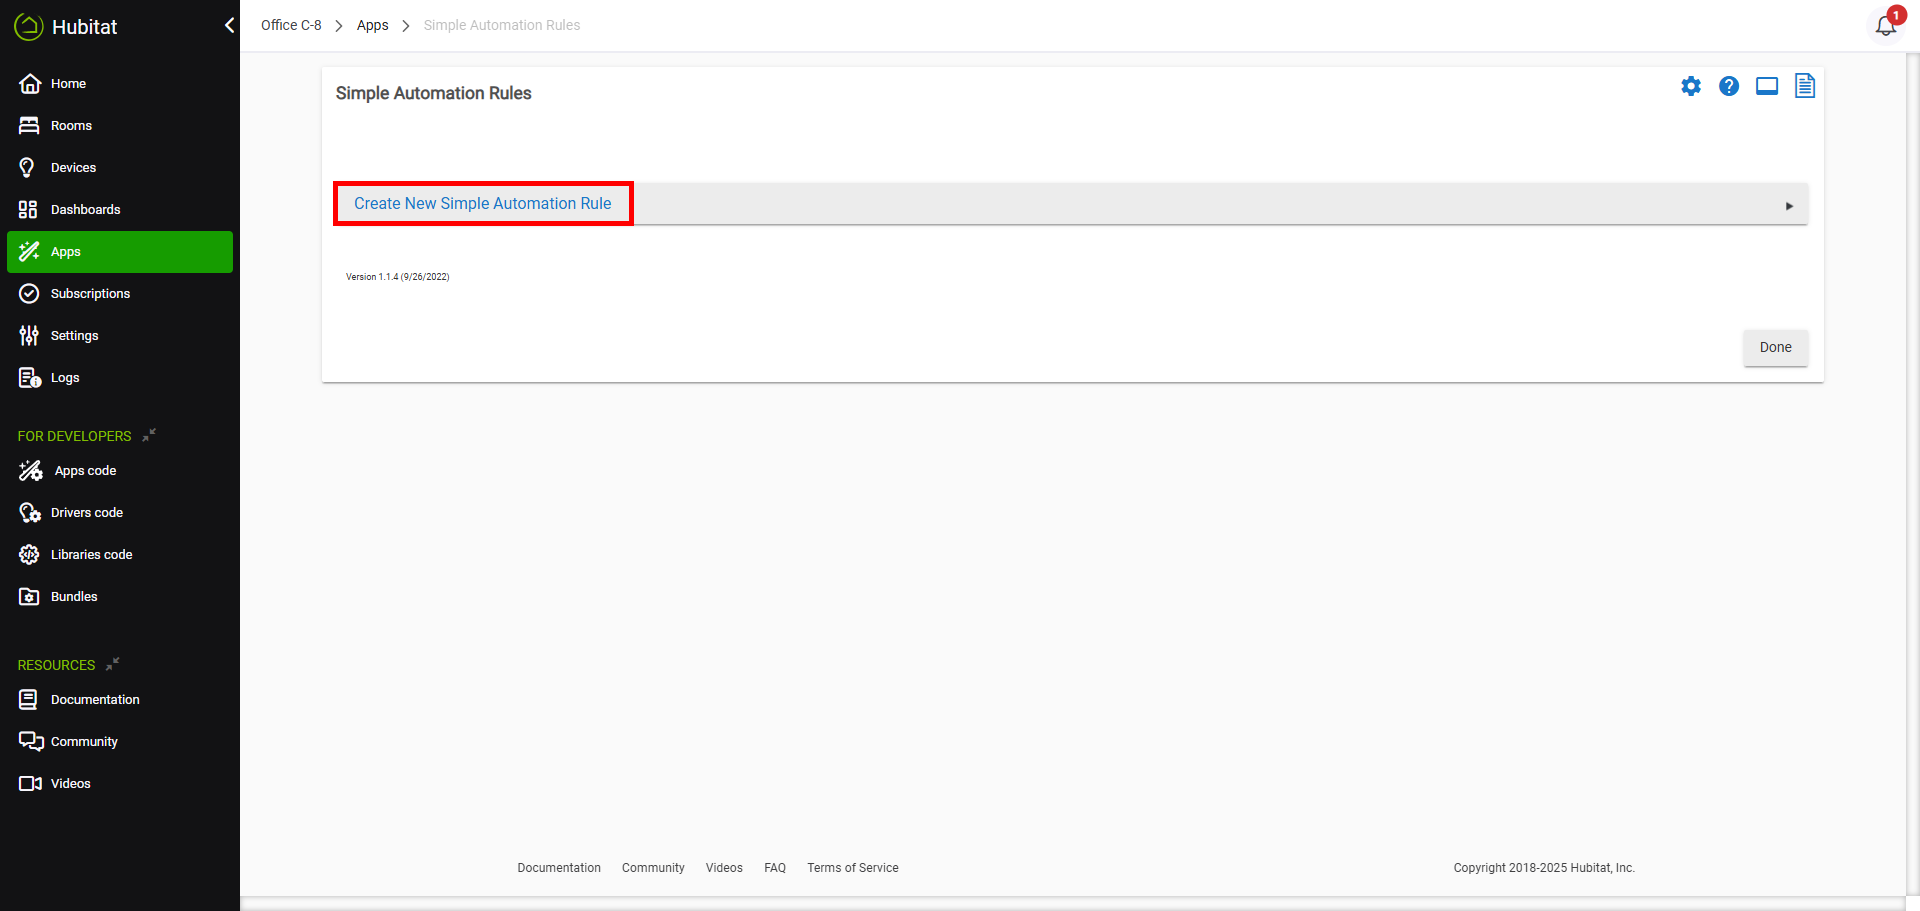
5. Click on Create New Simple Automation Rule
6. Select the devices you would like to trigger with one of the ZEN32 buttons under Which lights or switches do you want to automate? Click Update.

7. Under, How do you want to trigger it?, select Button Pushed/Held. Under What do you want to do?, select the action for the button (choose Toggle if you want to turn a device on and off with the same button).

8. Under Which button?, select the button on the Scene Controller you would like to use to control the devices selected above (choose the main ZEN32 device if you would like to use the main switch button) and click Update or select the Zooz ZEN32 Scene Controller device and enter the button number under Which button number? (see the buttons mapped for the community driver here).

9. Select the button trigger under Turn on when (or other action you chose for the device). Choose Pushed for a single click. Add any additional conditions under Restrictions and click Done.

Rule Machine App
You can also program the Scene Controller in the more advanced Rule Machine app that will give you the opportunity to use the LED indicators on the buttons as actions / alerts for other devices or scenarios in your network.
Here is how to program the LED indicators as action to the trigger of your choice:
- In the advanced settings on the ZEN32 Scene Controller, make sure that the LED indicators for all buttons you want to control are set to always ON
- Click on Apps in the side menu
- Click on "+ Add Built-in App" in the top right corner (or skip ahead if you already have Rule Machine installed)
- Click on Rule Machine
- Follow the prompts on the screen to select your trigger
- Under action, choose Set Variable, Mode or File, Run Custom Action > Run Custom Action > choose "Button" under "Select capability of action device" > select the ZEN32 from the device list > choose "setLED" under "Select custom command"

- Under Parameter Type select NUMBER and enter the number of the button you'd like the LED Indicator to be activated on (see the buttons mapped for the community driver here)

- Click "Add another parameter" and select STRING and the color you'd like the LED to turn on to (for example "blue")
- Click "Add another parameter" again and select NUMBER then enter the brightness level of the LED indicator you'd like to trigger (enter a number between 1 and 99)
- Click "Done editing action" and follow the prompts on the screen to complete the automation in Rule Machine until it's saved.
Just choose the custom command set LED as the action for your smart rule and follow the prompts on the screen to complete the set-up.
Do you have any more questions about programming the Scene Controller on Hubitat? Please reach out to us anytime!

