Hubitat has officially integrated the ZEN78 as of platform version 2.4.3.176.
With the advent of Z-Wave long range (ZWLR), Hubitat now offers the option to include your long range supporting devices via standard Z-Wave mesh or with ZWLR. You can read more here about how the standard mesh and ZWLR differ and decide which is the best method for you.
Important Note: A slow, pulsing red LED indicator is the standard state for the device when powered and not included to your Z-Wave hub; as long as the unit has power and is not included, it will slowly pulse red at a steady pace. The device has an internal relay, which can turn on and off with a click of the Z-Wave button. This means that when you are attempting to include or exclude the device, the clicks need to happen as fast as possible; if the clicks are not completed fast enough, the relay will engage instead and the device will not enter inclusion or exclusion mode. You will know you have clicked fast enough when the LED indicator begins flashing rapidly.
Standard Mesh Inclusion Options
When including your device to the mesh (using repeaters), you have the option of utilizing SmartStart or a standard manual inclusion. We've included instructions for both methods below:
Smart Start Inclusion
On the Hubitat app:
-
DO NOT power on the device at this time; SmartStart must be properly initiated first.
-
Open the Tools tab (wrench icon on the bottom).
-
Scroll to the bottom, select Z-Wave.
-
This will take you to a screen where you can select either Smart Start or regular inclusion.
-
Select Smart Start.
-
This will take you to the smart start inclusion list. Devices will be displayed there that are in the process of inclusion through Smart Start.
-
Select the QR symbol in the top right to open the camera for the DSK scan; scan the QR Code on the back of the device.
-
Power the device (important to do this AFTER QR scan).
-
The device integration will begin. The window will appear asking you to name the device; click Save after naming.
-
Finishing inclusion may take a few minutes.

If you have any issues with Smart Start Inclusion on Hubitat, please review this video: https://www.youtube.com/watch?v=Sf-Fldjb0to. The steps should be the same whether you have a C-7 or C-8.
Manual Inclusion
-
Open Hubitat in your Internet browser
-
Go to Devices
-
Click on + Add Device in the top right corner
-
Click on Z-Wave
-
Click on Start Z-Wave Inclusion
-
While the app says it is in inclusion mode, click the Z-Wave button on the relay 3 times as quickly as possible (the LED indicator will start flashing red quickly). If it does not begin rapidly flashing red, try again, ensuring you are clicking as quickly as possible and that the relay does not engage between clicks.
-
If you're using a hub that supports S2 security, it may ask you to enter the PIN. The PIN is located next to the Z-Wave Plus logo.
-
Rename and confirm the found device
Z-Wave Long Range (ZWLR) Inclusion
If you want to include the device with ZWLR, first ensure you're using the model C-8 hub or later, with a minimum platform version of 2.3.9 or later in the US region only. You also need to ensure your device model and firmware version support ZWLR.
Next, you'll want to install the SmartStart Manager app. You can read more details on this custom app here, and be sure to thank Jeff for his work on the app!
To include the device as a ZWLR device, Z-Wave SmartStart must be used. Note that all ZWLR devices must support SmartStart, but not all SmartStart devices support ZWLR. SmartStart will still include the device as a traditional Z-Wave node if LR is not supported.
To add a device using SmartStart with ZWLR in Hubitat once the SmartStart Manager app is installed:
-
Do NOT power on the device until instructed to do so in step 7.
-
Locate the SmartStart QR code for the device. The QR code sticker also contains the numeric DSK (device-specific key) next to it; you will need this later. Do not power on the device at this time.
-
For the Hubitat 2.0 mobile app: go to Devices > + (plus icon) > Add SmartStart Devices
-
For the current 1.x app --- do not edit the SmartStart entry as LR is not manually selectable at this time) Tools > Z-Wave Tools.
-
-
Select the SmartStart button.
-
Select the QR code icon from the top-right (and allow camera access for the app if prompted).
-
Scan the QR code for the device that you located in Step 1.
-
Provide a name for the device when prompted (to be used on the hub, e.g., "Living Room Dimmer" or "Hallway Motion"; this can be changed on the hub later).
-
Power on the device. The LED indicator will start blinking. The inclusion process should start immediately and the device should be automatically added to your hub.
If the relay is having problems connecting to Hubitat, try these troubleshooting steps first.
Device Display
We've included some screenshots below detailing how the device will display in Hubitat (ensure you are running at least platform version 2.4.3.176 for correct display).
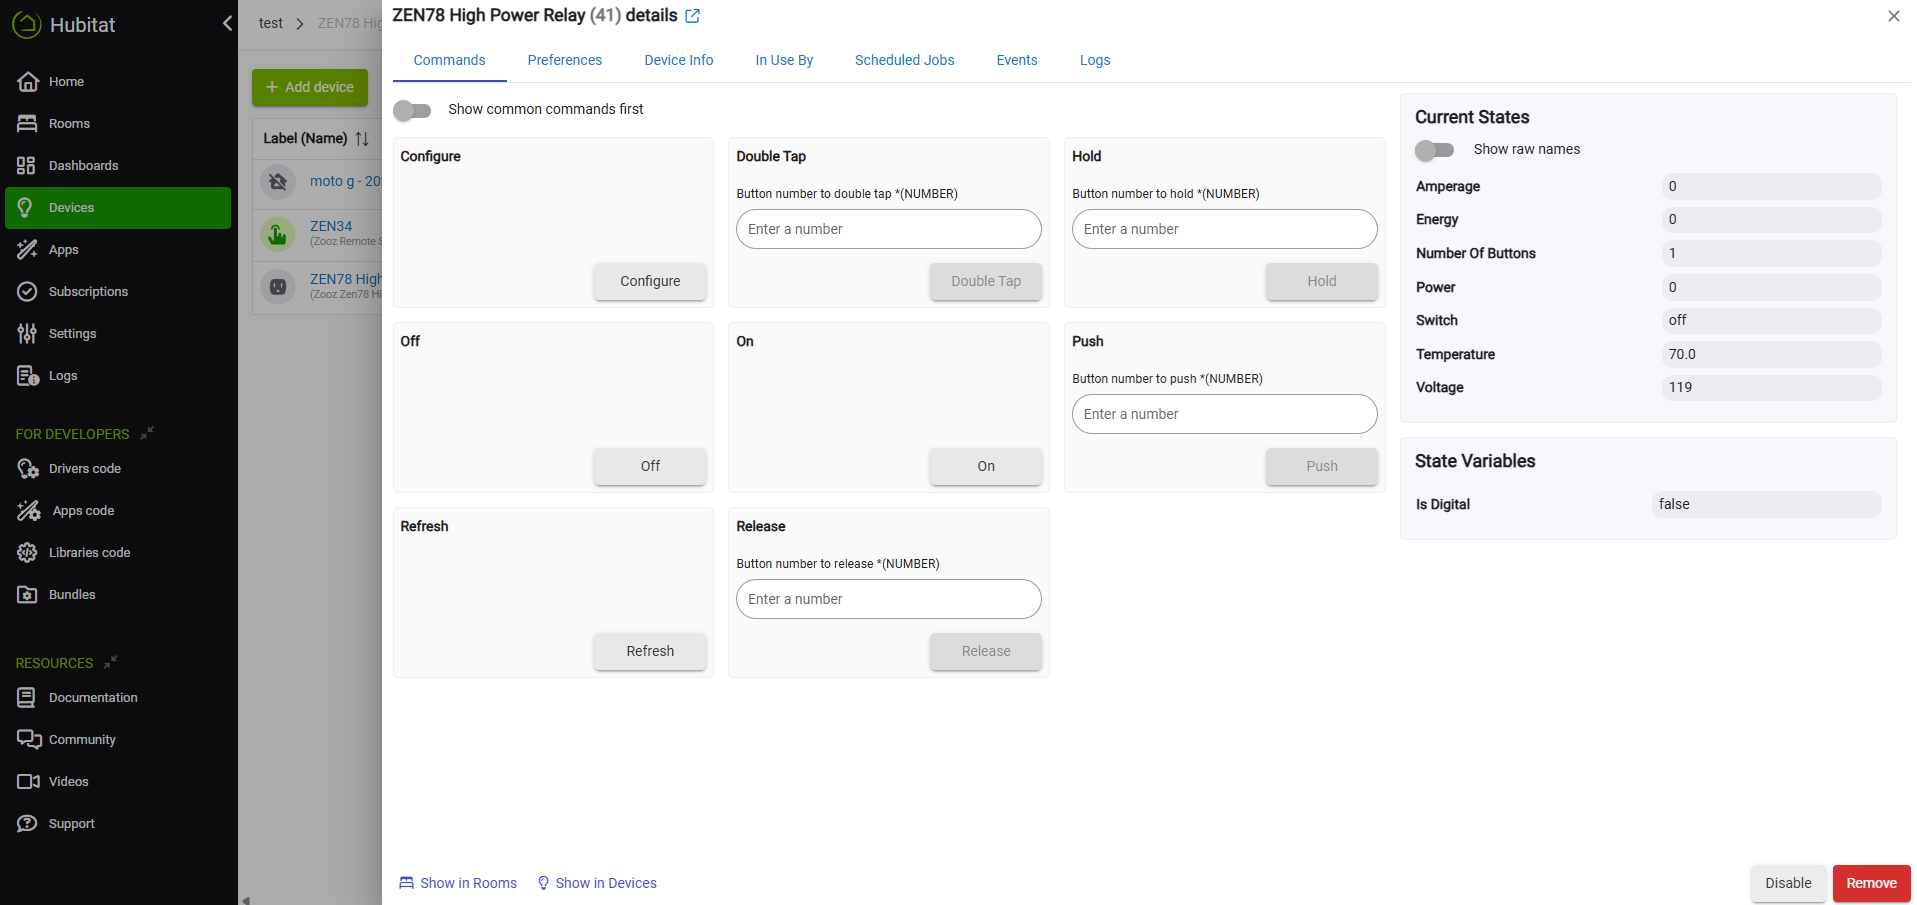
Commands
The Commands tab in the Hubitat UI is used to manually trigger actions or functions that a device supports. It shows the list of available commands (like On, Off, Set Level, Refresh, etc.) based on the device's driver. This is useful for testing or troubleshooting device behavior directly from the interface without relying on automations or rules.
Preferences
The Preferences tab in the Hubitat UI is used to configure settings specific to the device and its driver. This can include options like reporting intervals, LED behavior, reporting thresholds, or other customizable features. Changes made here affect how the device functions and communicates with the hub.

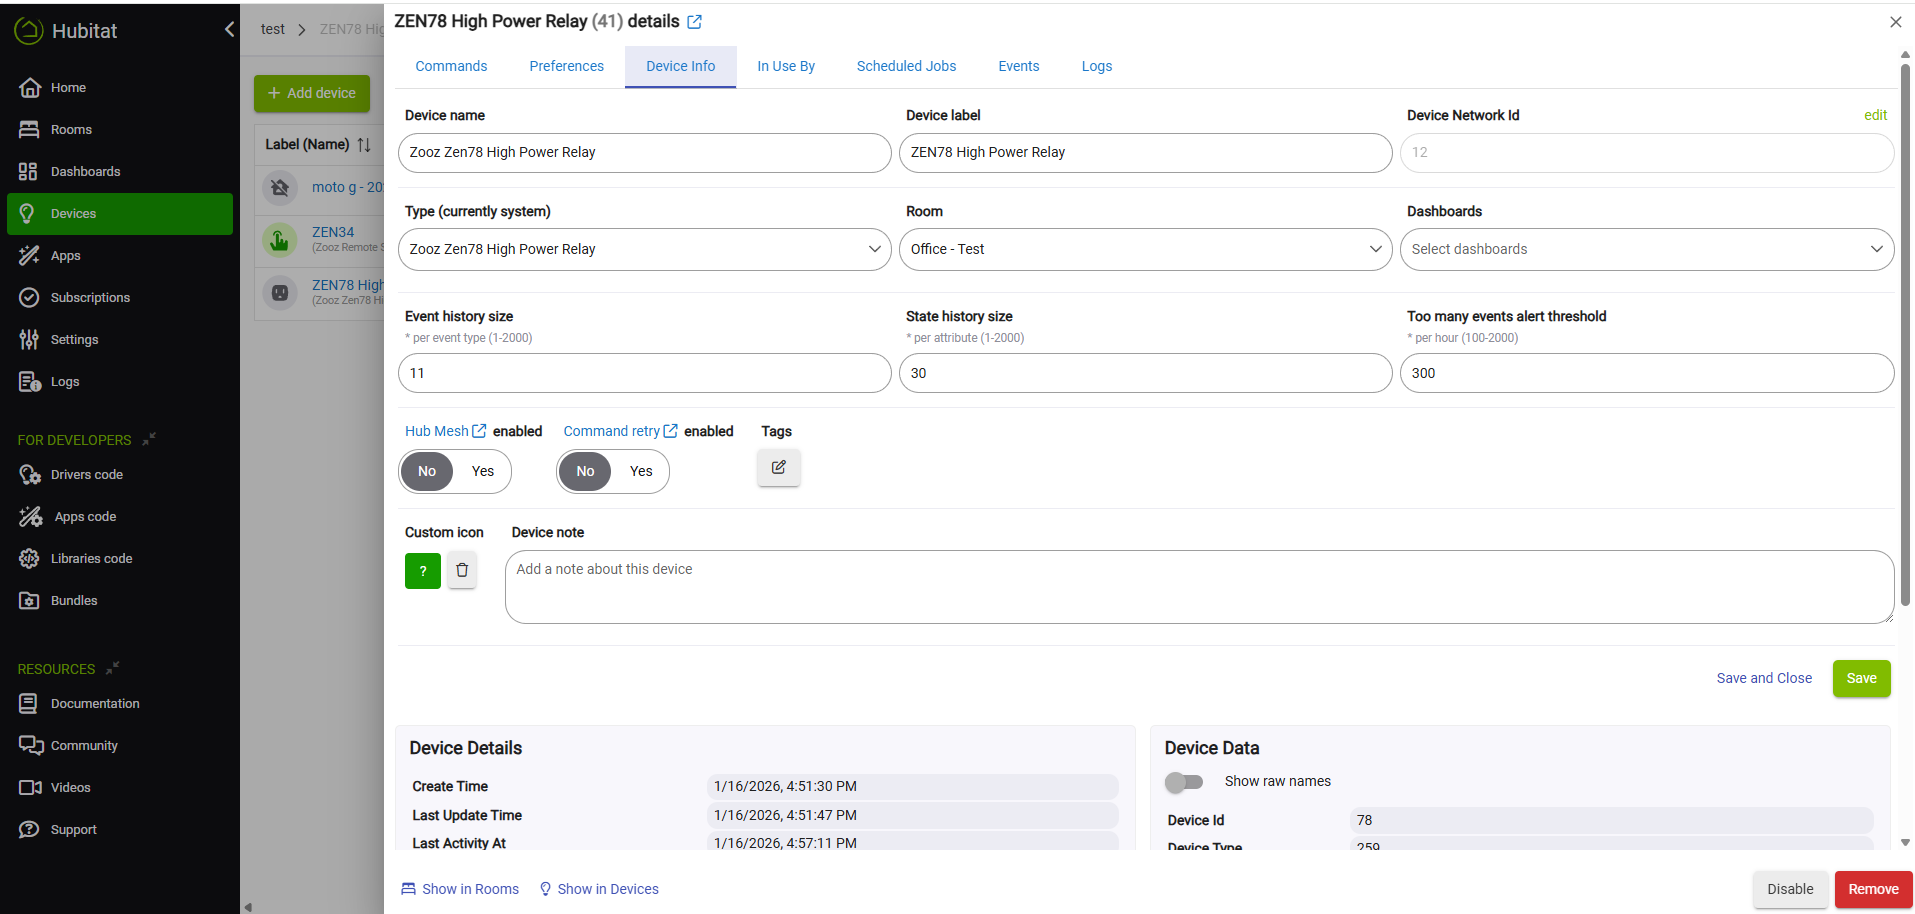
Device Info
The Device Info tab in the Hubitat UI displays key details about the device, such as its name, network ID, driver type, and status. It also shows information like the Z-Wave ID, routing details, and device type metadata. This tab is useful for identifying the device and verifying its connection and configuration within the hub.
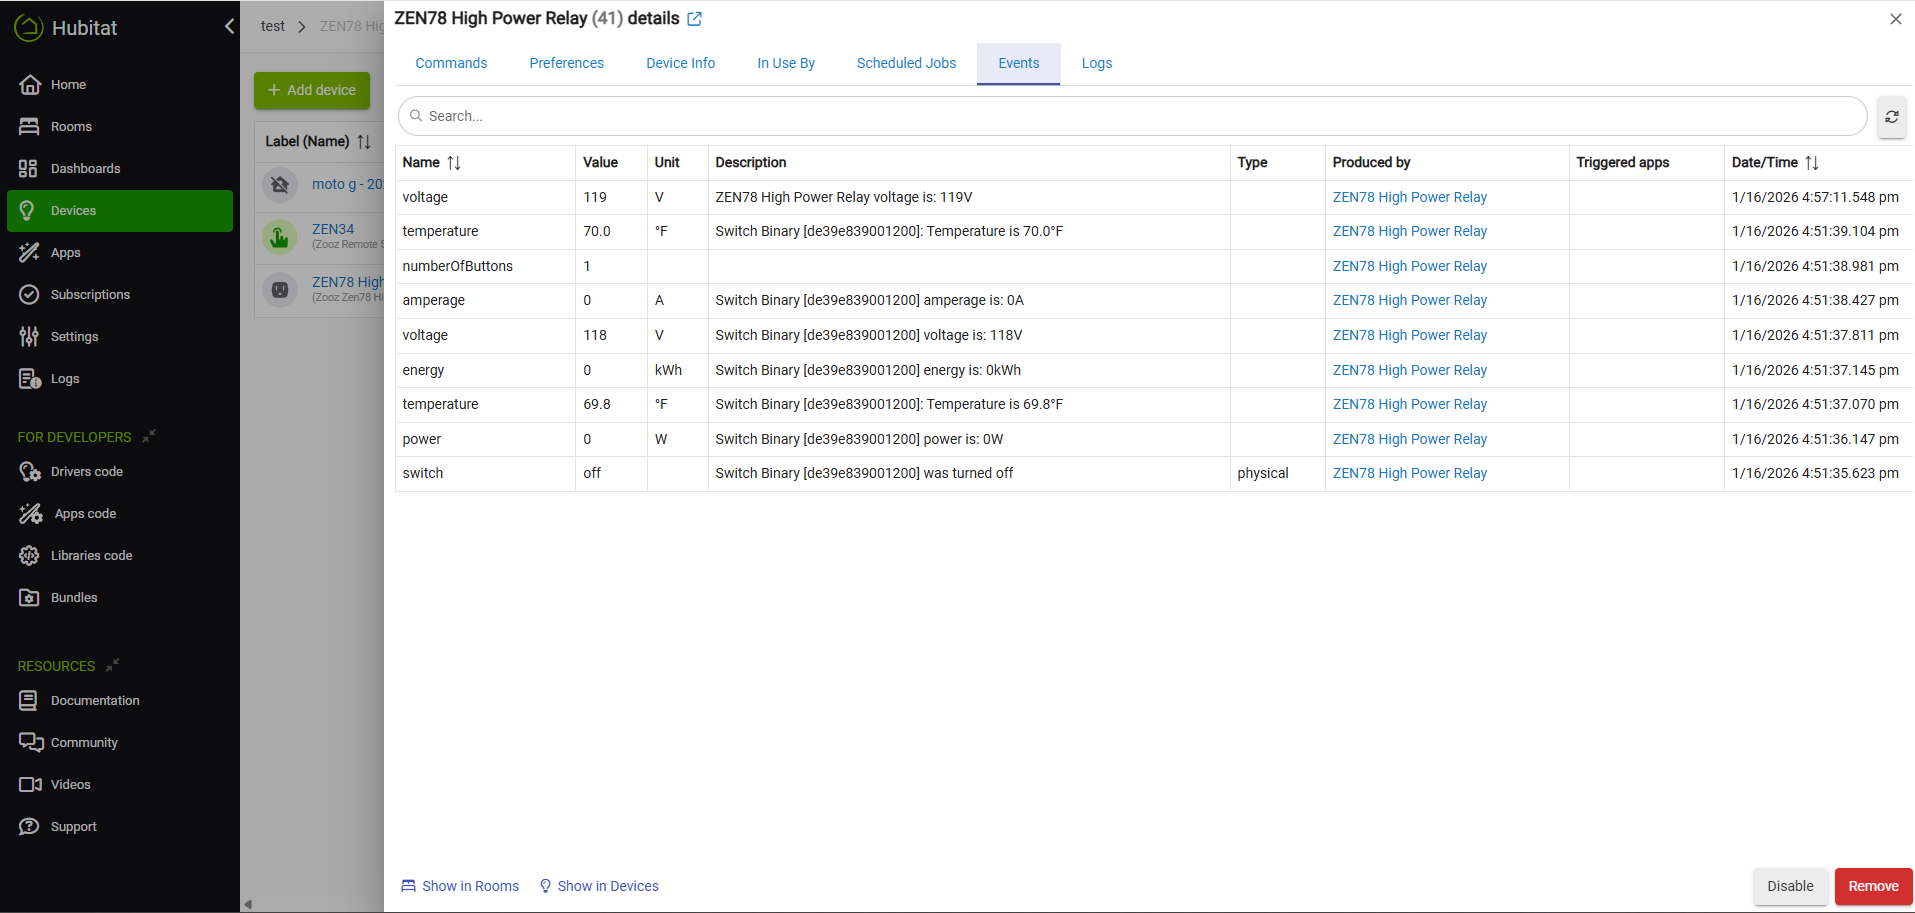
Events
The Events tab in the Hubitat UI shows a log of recent activity for the device, including state changes like switch toggles, sensor reports, or level adjustments. It helps you monitor what the device is doing over time and is useful for troubleshooting or verifying automations.
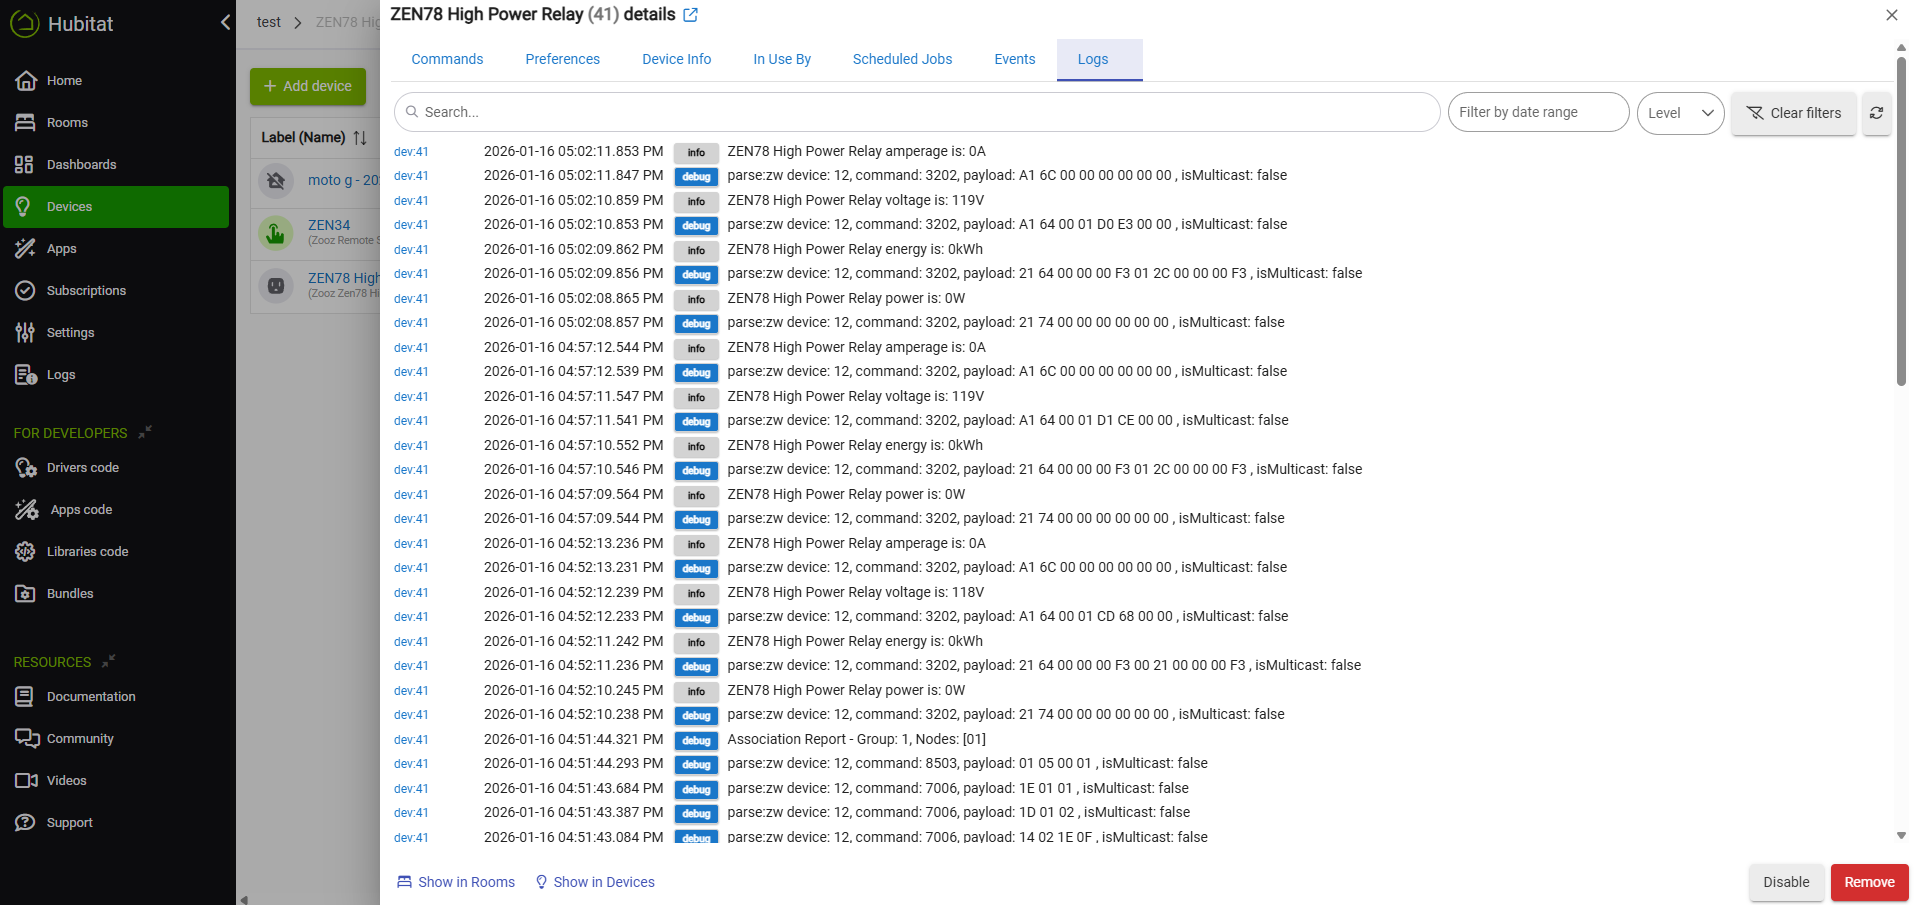
Logs
The Logs tab in the Hubitat UI displays real-time and recent log entries for device activity and system operations. It’s primarily used for troubleshooting, showing messages generated by drivers, apps, or the hub itself to help identify errors, debug issues, or monitor behavior.