
The ZEN05 Outdoor Smart Plug can be added to compatible Alarm.com systems* and will function as a standard on / off device. Once included, the ZEN05 provides on / off control of the connected device.
However, Alarm.com is simply the cloud platform and mobile app used to access and manage your system remotely. It provides the automation, notifications, and account management, but it is not the physical Z Wave controller in your home. The actual controller is the hardware installed on site, which may be an Alarm.com automation hub, a security panel from Qolsys, a security panel from 2GIG, or another compatible gateway. This hardware determines which Z Wave devices can be added, how they appear in the interface, and which features are supported.
Compatibility depends fully on the specific hub or panel firmware you have installed in your home. *The specific automation hubs listed below have integrated and fully support the ZEN05 Outdoor Smart Plug (still no access to the advanced settings). Other panels may include the device and be able to provide on/off control with the ZEN05, but the below have confirmed integration.
You can read more about Alarm.com compatibility specifically here.
Inclusion Steps
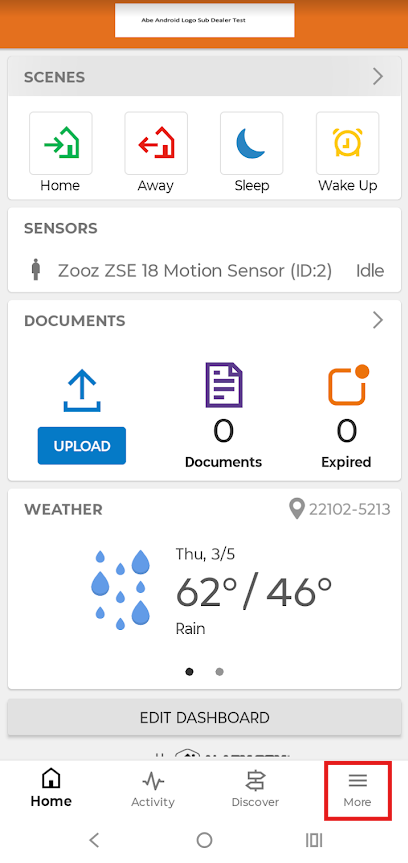
1. From the Alarm.com app, click More.
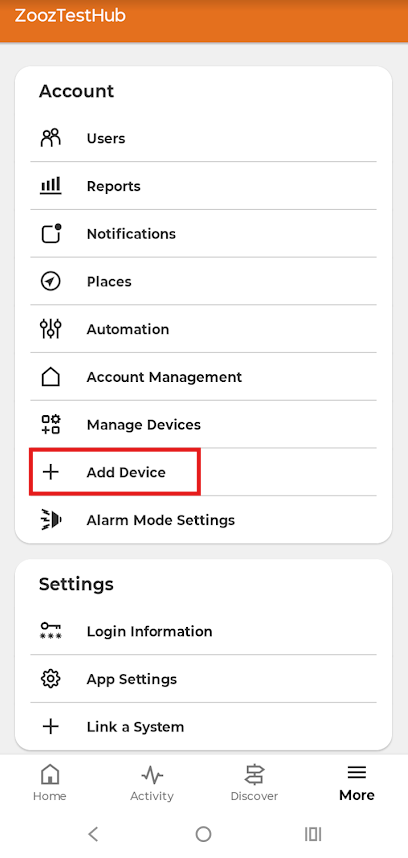
2. Click + Add Device.
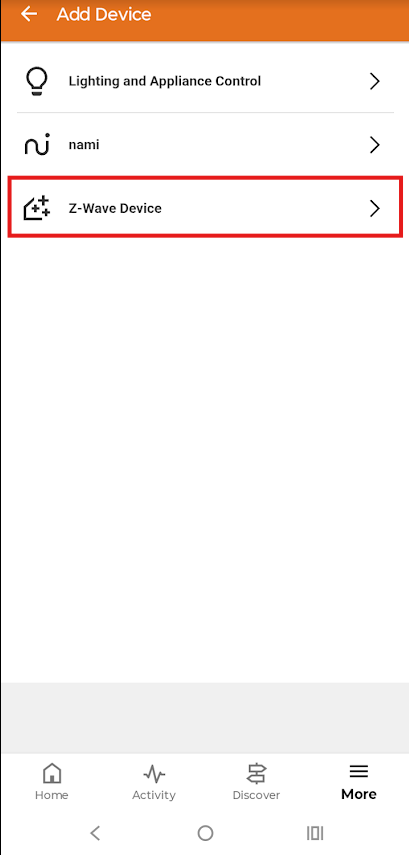
3. Click Z-Wave Device.
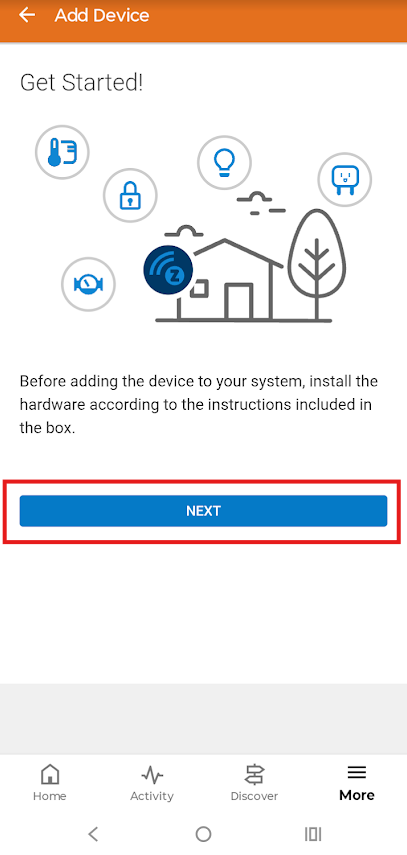
4. Click Next.
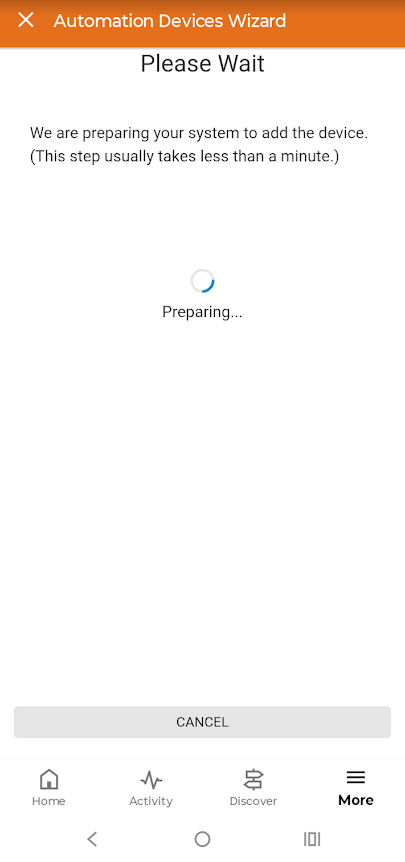
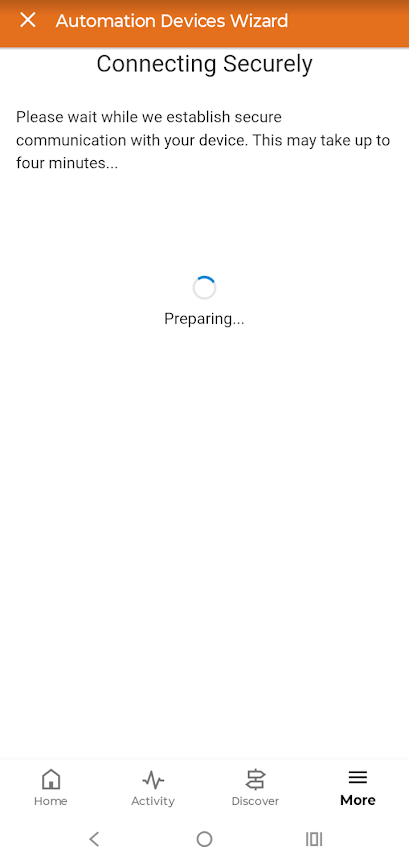
5. Wait while the system prepares.
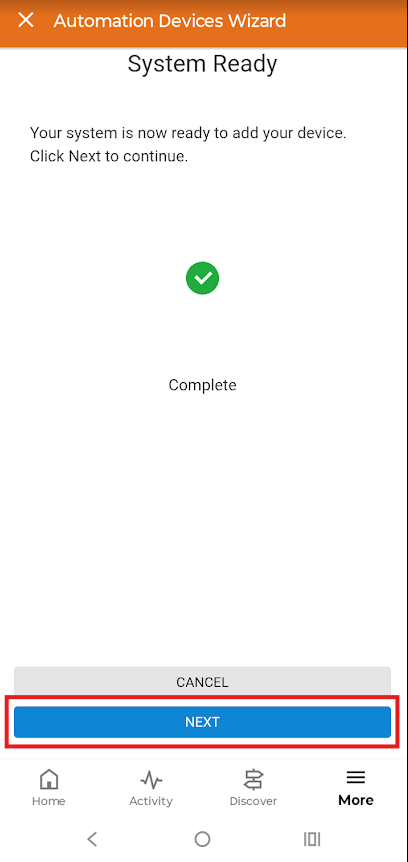
6. System ready > click Next.
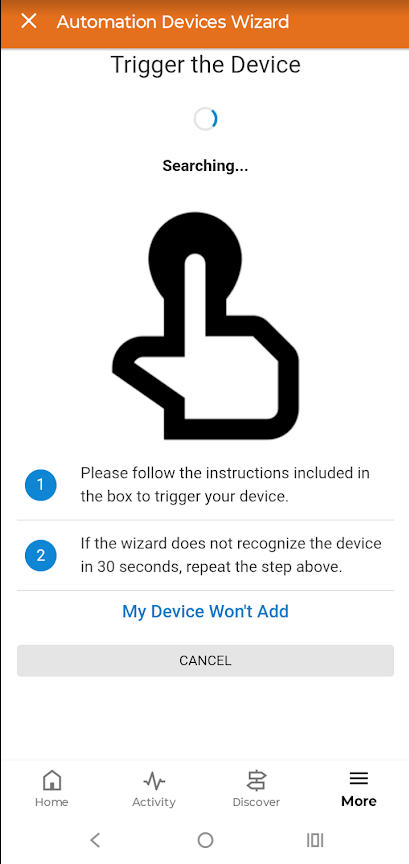
7. Click the Z-Wave button on the ZEN05 Outdoor Plug 3 times quickly. The LED indicator will begin flashing blue to indicate communication.
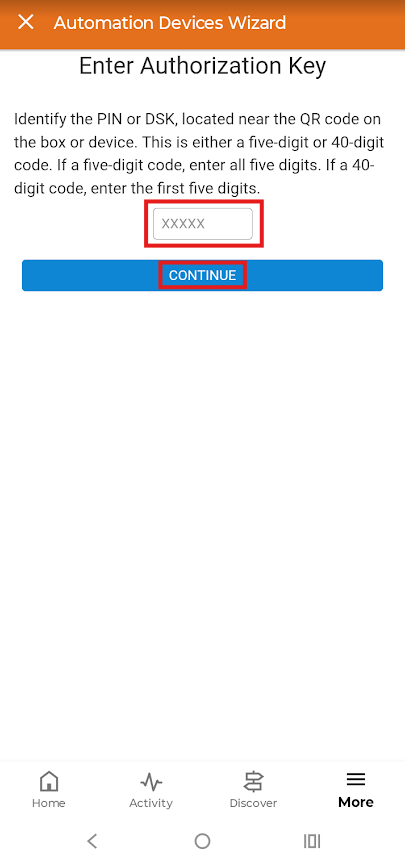
8. Enter the 5 digit Pin from the QR code on the device. Click Continue.
9. Wait while connection completes.
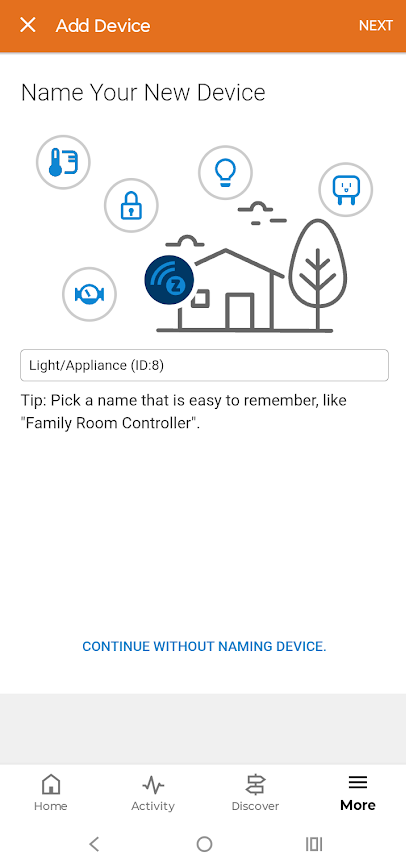
10. The ZEN05 will display as a Light / Appliance device. You can keep the default name, or edit it here and click Next.
Device Display
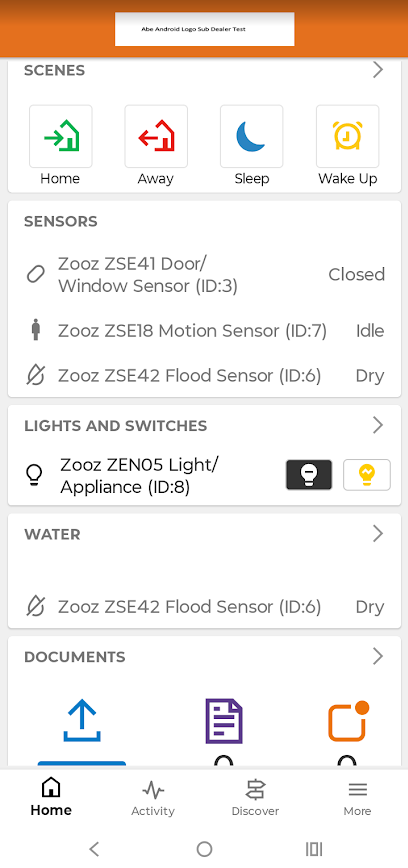
1. The ZEN05 will display with your lights and switches, and provide on / off control and status display from the Home screen.
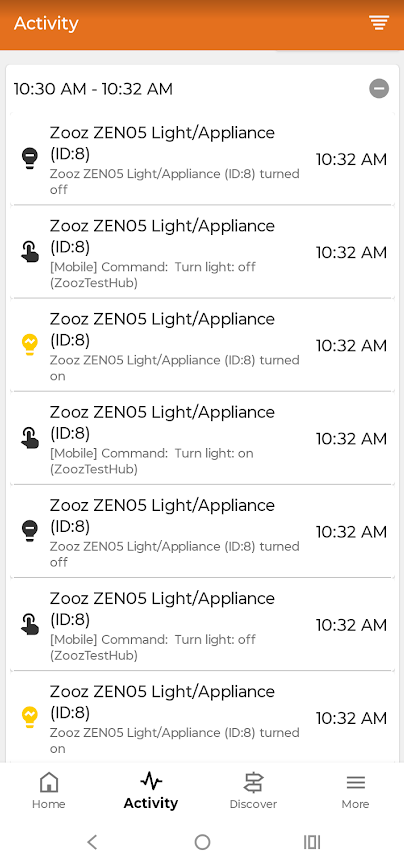
2. Activity will show the recent plug activity and how it was triggered (manually or via the app), showing when the plug reported on and when it reported off.
Troubleshooting
Having issues including your plug? Check out the troubleshooting steps below!
-
Try excluding the plug first. This can be done even if it has never been included to any hub, or even if the plug is included to another hub. Exclusion simply acts as a soft reset that prepares the device for inclusion.
-
If the LED is responding as expected to inclusion and exclusion, try bringing the plug closer to the hub to rule out any range or interference issues. If it includes at the nearer location, the original location may be too far or have too many interferences.
-
Try a factory reset prior to attempting inclusion again.
If you have any questions, let us know! Our team is ready to help.

